On Country
Collecting Data
Students are asked to survey the plants and animals in a bush site, and compare with their schoolyard (or nearby). Their data provides evidence for assessing a measure of bush ‘health’.
WHAT WILL WE DO?
Show PowerPoint – Science, how will we do it? (TOOLBOX)
You may like to construct a Worksheet that will detail student actions on site. These will help with their planning, and should include:
1. collect our data from 2 sites. Site A - near the school. Site B - a natural bush area or Reserve.
2. We will identify and count the number of trees at each site and sample the invertebrates that live near the trees.
3. We will predict which Site has the more types of invertebrate and tree - Site A or Site B?
MAKE A PREDICTION
Teacher Note: Both sites should be surveyed at the same time of year, in order to make a valid comparison. It may be possible to divide the class into Year 3 students collecting data from the schoolground, and Year 4 students visiting the Reserve.
HOW WILL WE DO IT?
1. Identify and count trees on-site
2. Install our pittrap
3. Record other animals on-site
4. Analyse our data in the classroom
Activity
Count Trees on-site:
1. Students are supervised as they explore the site.
2. They identify the trees, with Aboriginal help, or from their notebooks, and count the number of each tree type in view. Use tally counting.
3. Seek the help of Aboriginal people to engage with students and relate their knowledge about trees and animals in the area.
• perhaps how Aboriginal people may have lived there
• cultural information about each tree, its totemic importance, the use of its wood for implements, its seeds for food, its leaves for medicine, etc.
4. Encourage students to make notes from the information Aboriginal educators wish to share.
Activity
Install and Monitor pit-traps:
HOW TO INSTALL
1. Pits are installed at approximately 4 metre intervals and in lines of 4 metres apart (see Trapping Plan in Preparation).
2. Demonstrate how to install the pit (lid ON) with the rim flush with the ground surface. (Small animals will not climb up a glass barrier to fall into a hole!).
3. Replace soil and pack firmly around the rim. Make sure that a small, crawling animal will easily fall in. Remove the lid. These are left near the trap and replaced (temporarily) in case of rain.
4. Students place a pop stick marked with their name next to their pit. 5. Students note the litter around the pits and record it as ‘leafy’ or ‘sandy’.
HOW TO MONITOR
1. Pits should be examined during the week, for ethical reasons.
2. Small lizards can be removed, not by the tail, as they will jettison it quickly.
3. Check for fallen debris, such as twig or leaf. It provides an escape route. Make sure the debris is free of a clinging invertebrate when discarded.
4. Leave pits installed for approximately one week.
5. The teacher (with student help) collects the pits, place pop-stick ID in the pit, and replace lid.
6. Return to the classroom for analysing.
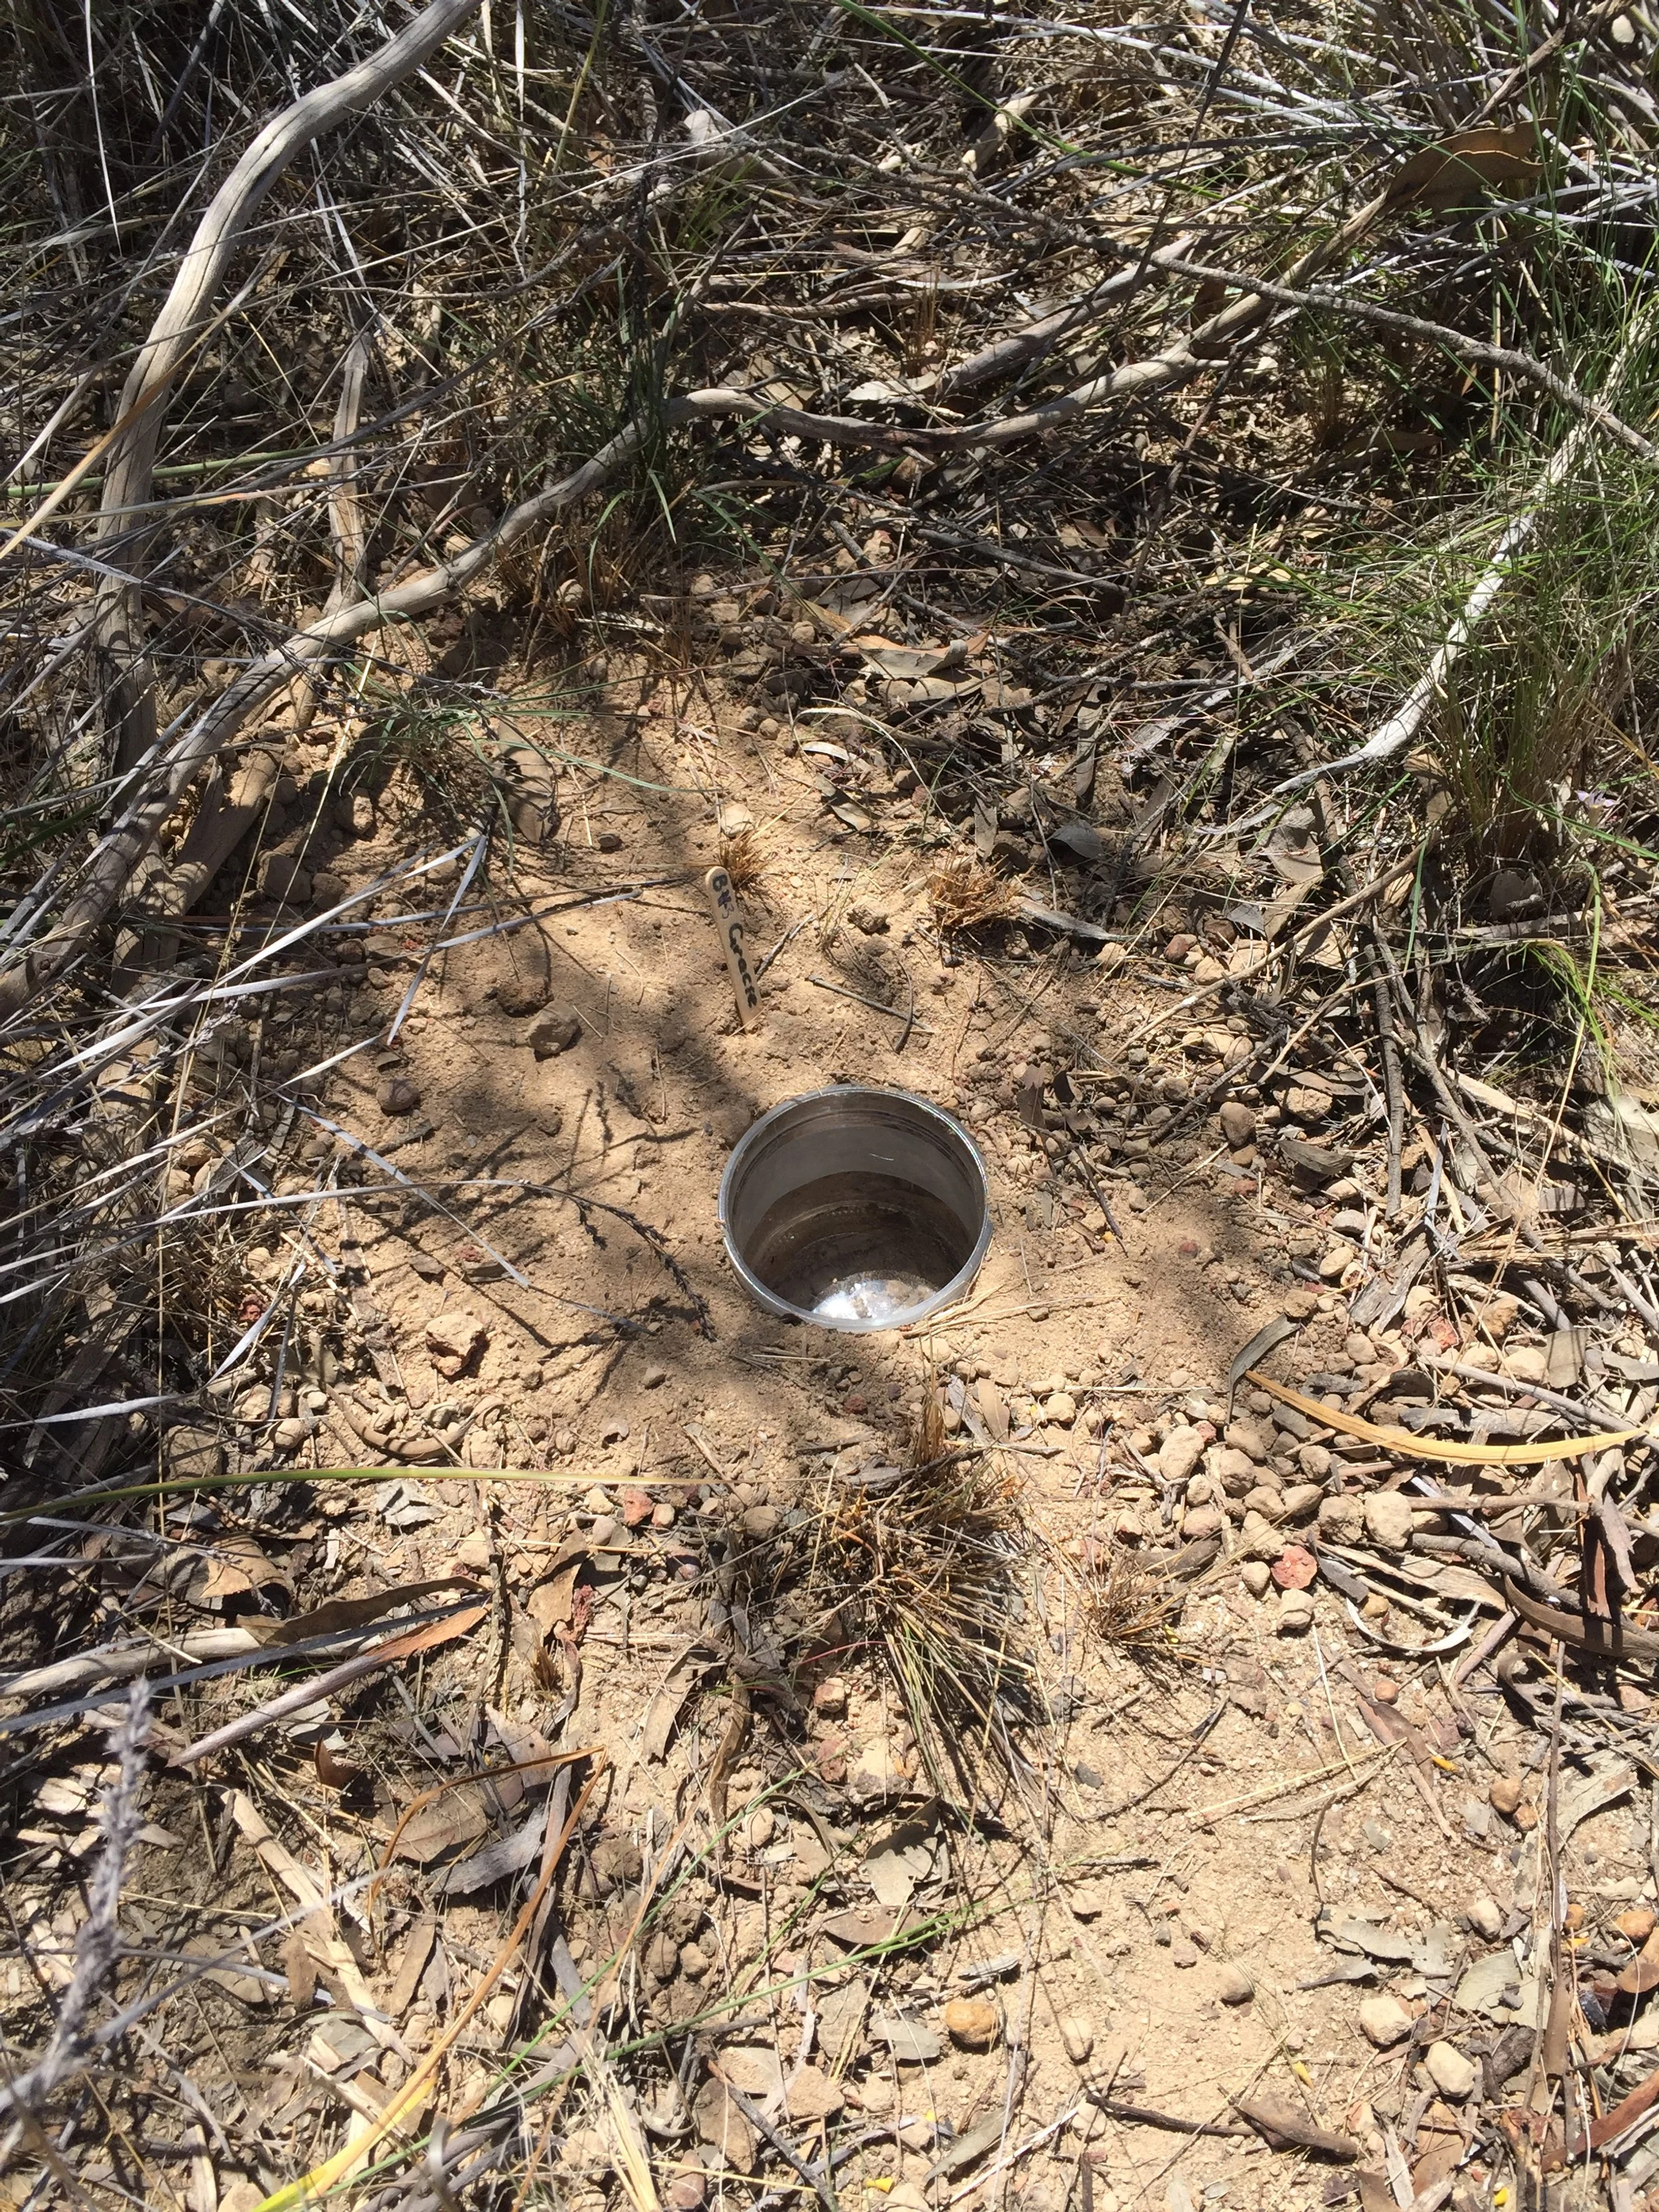
Installed Pittrap
Activity
Record other Animals on-site:
1. Photograph, or record, signs of other animals. All records from the Site will be added to the classroom installation.
2. Birds (seen or heard), lizard burrow, echidna hole, mallee fowl mound, termite mound, ant nest, spider hole, antlion pit, or tracks identified by Aboriginal helper.
3. These are valuable records and may be used for data analysis.
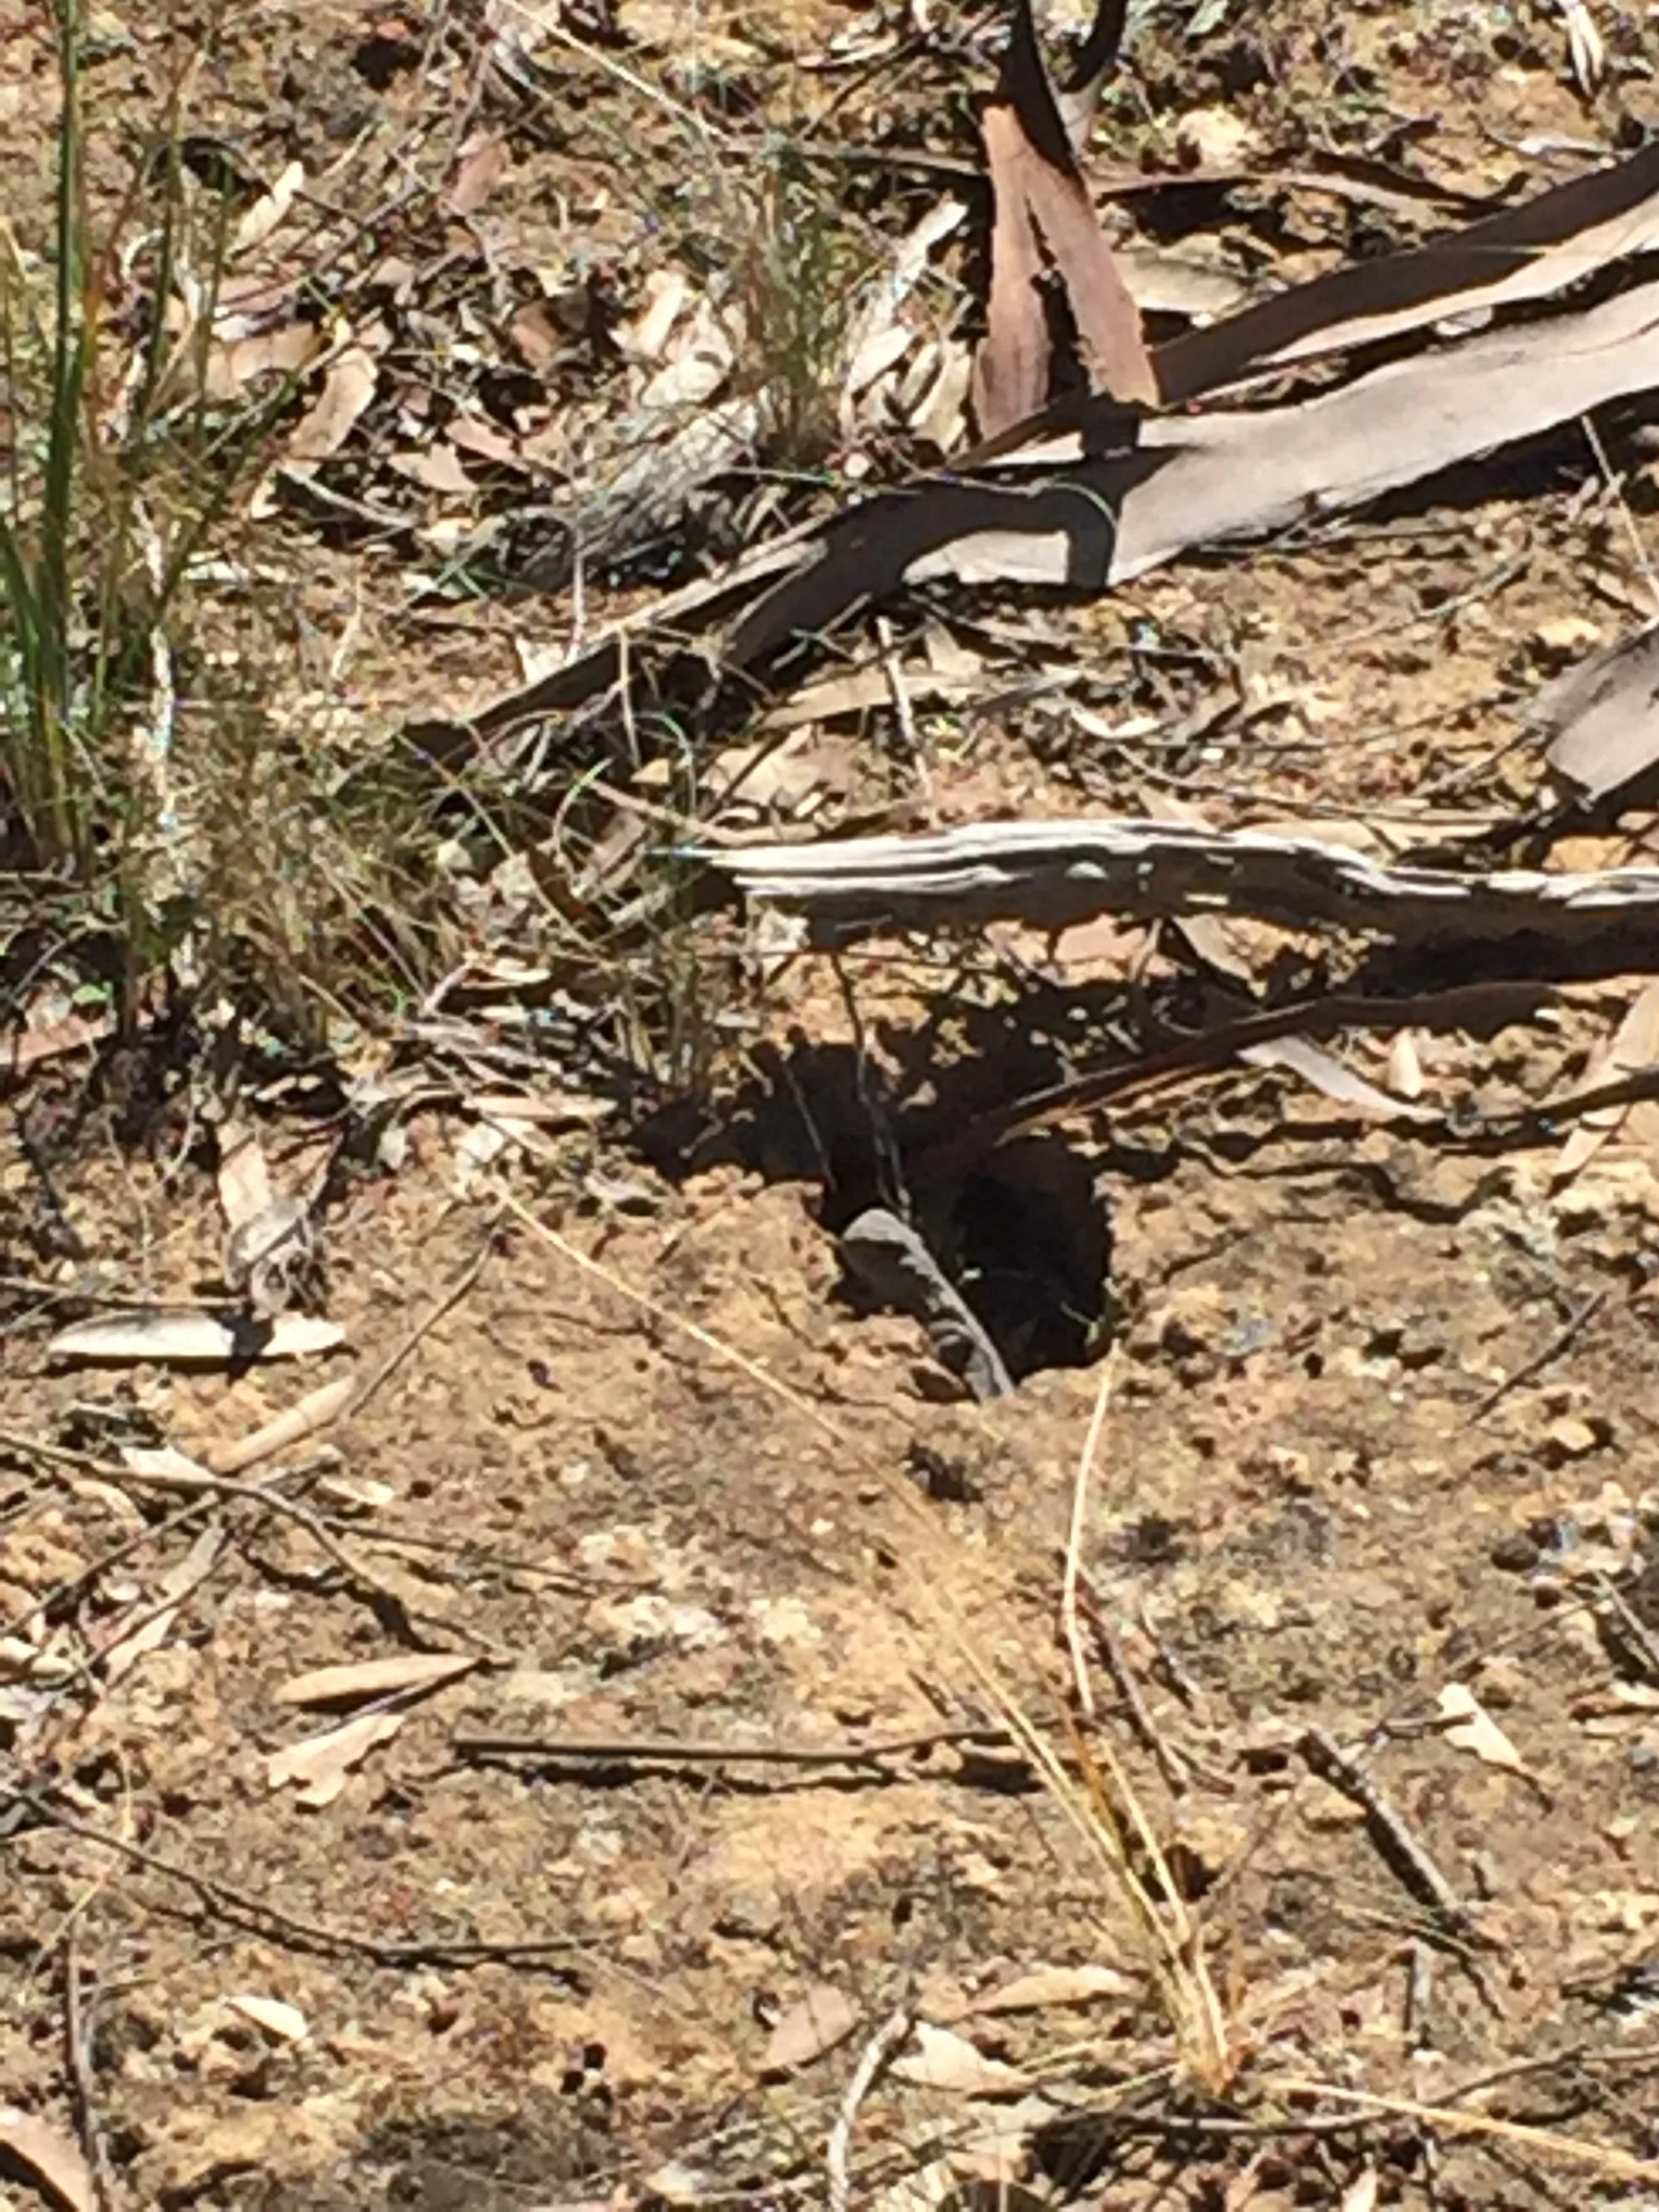
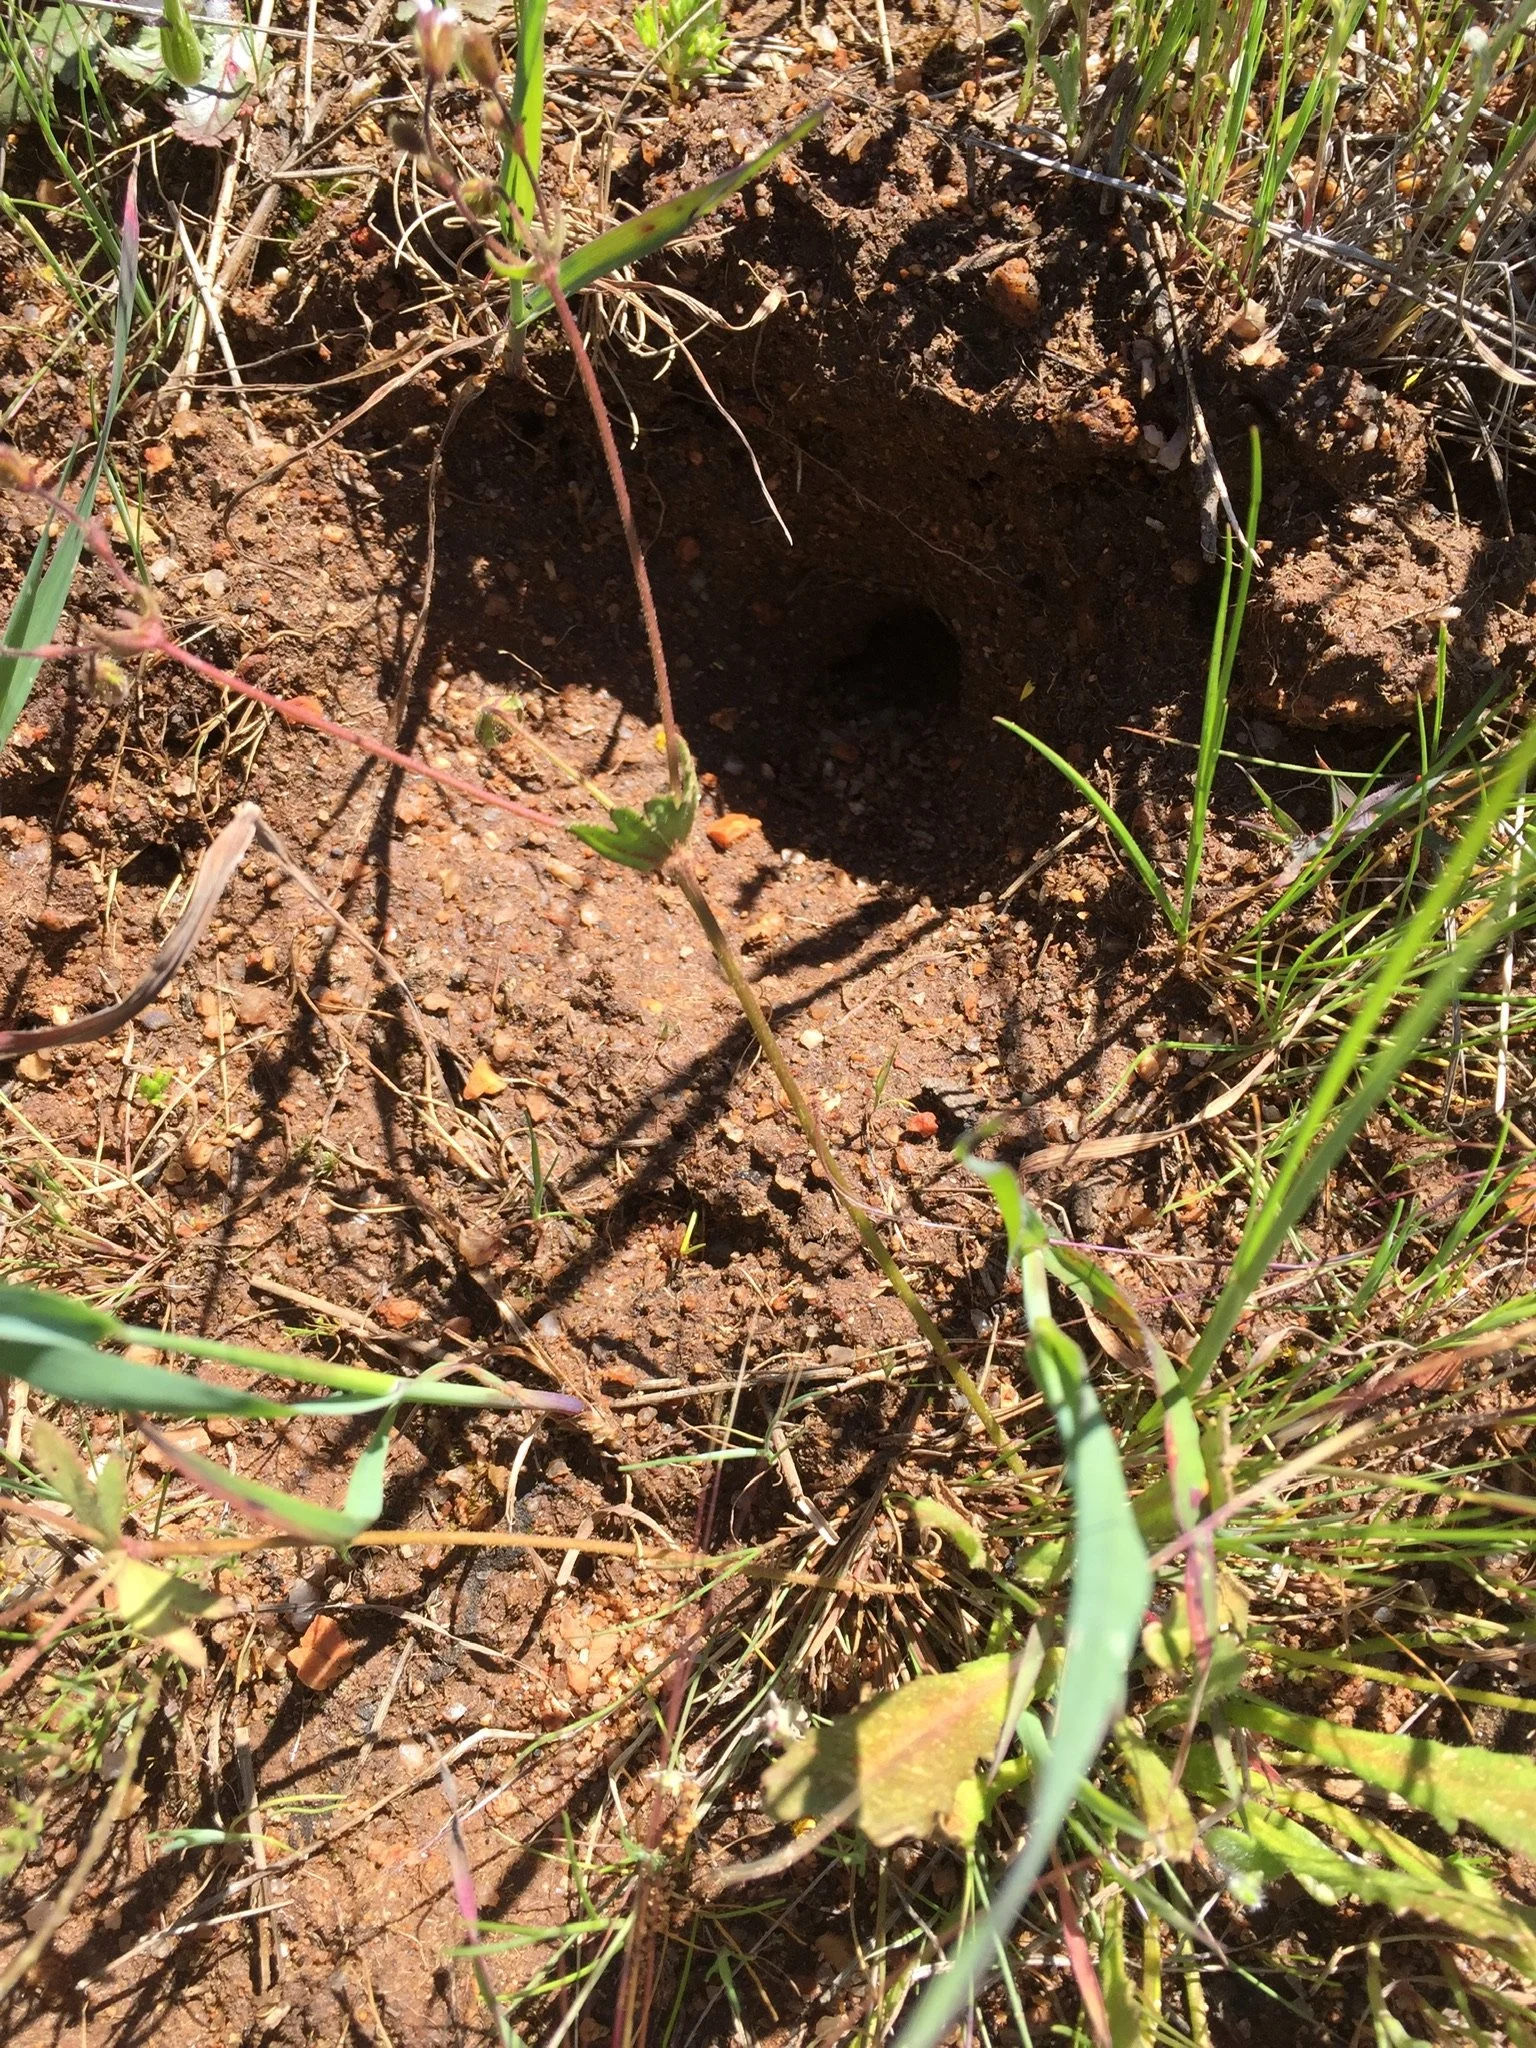
Lizard Burrow
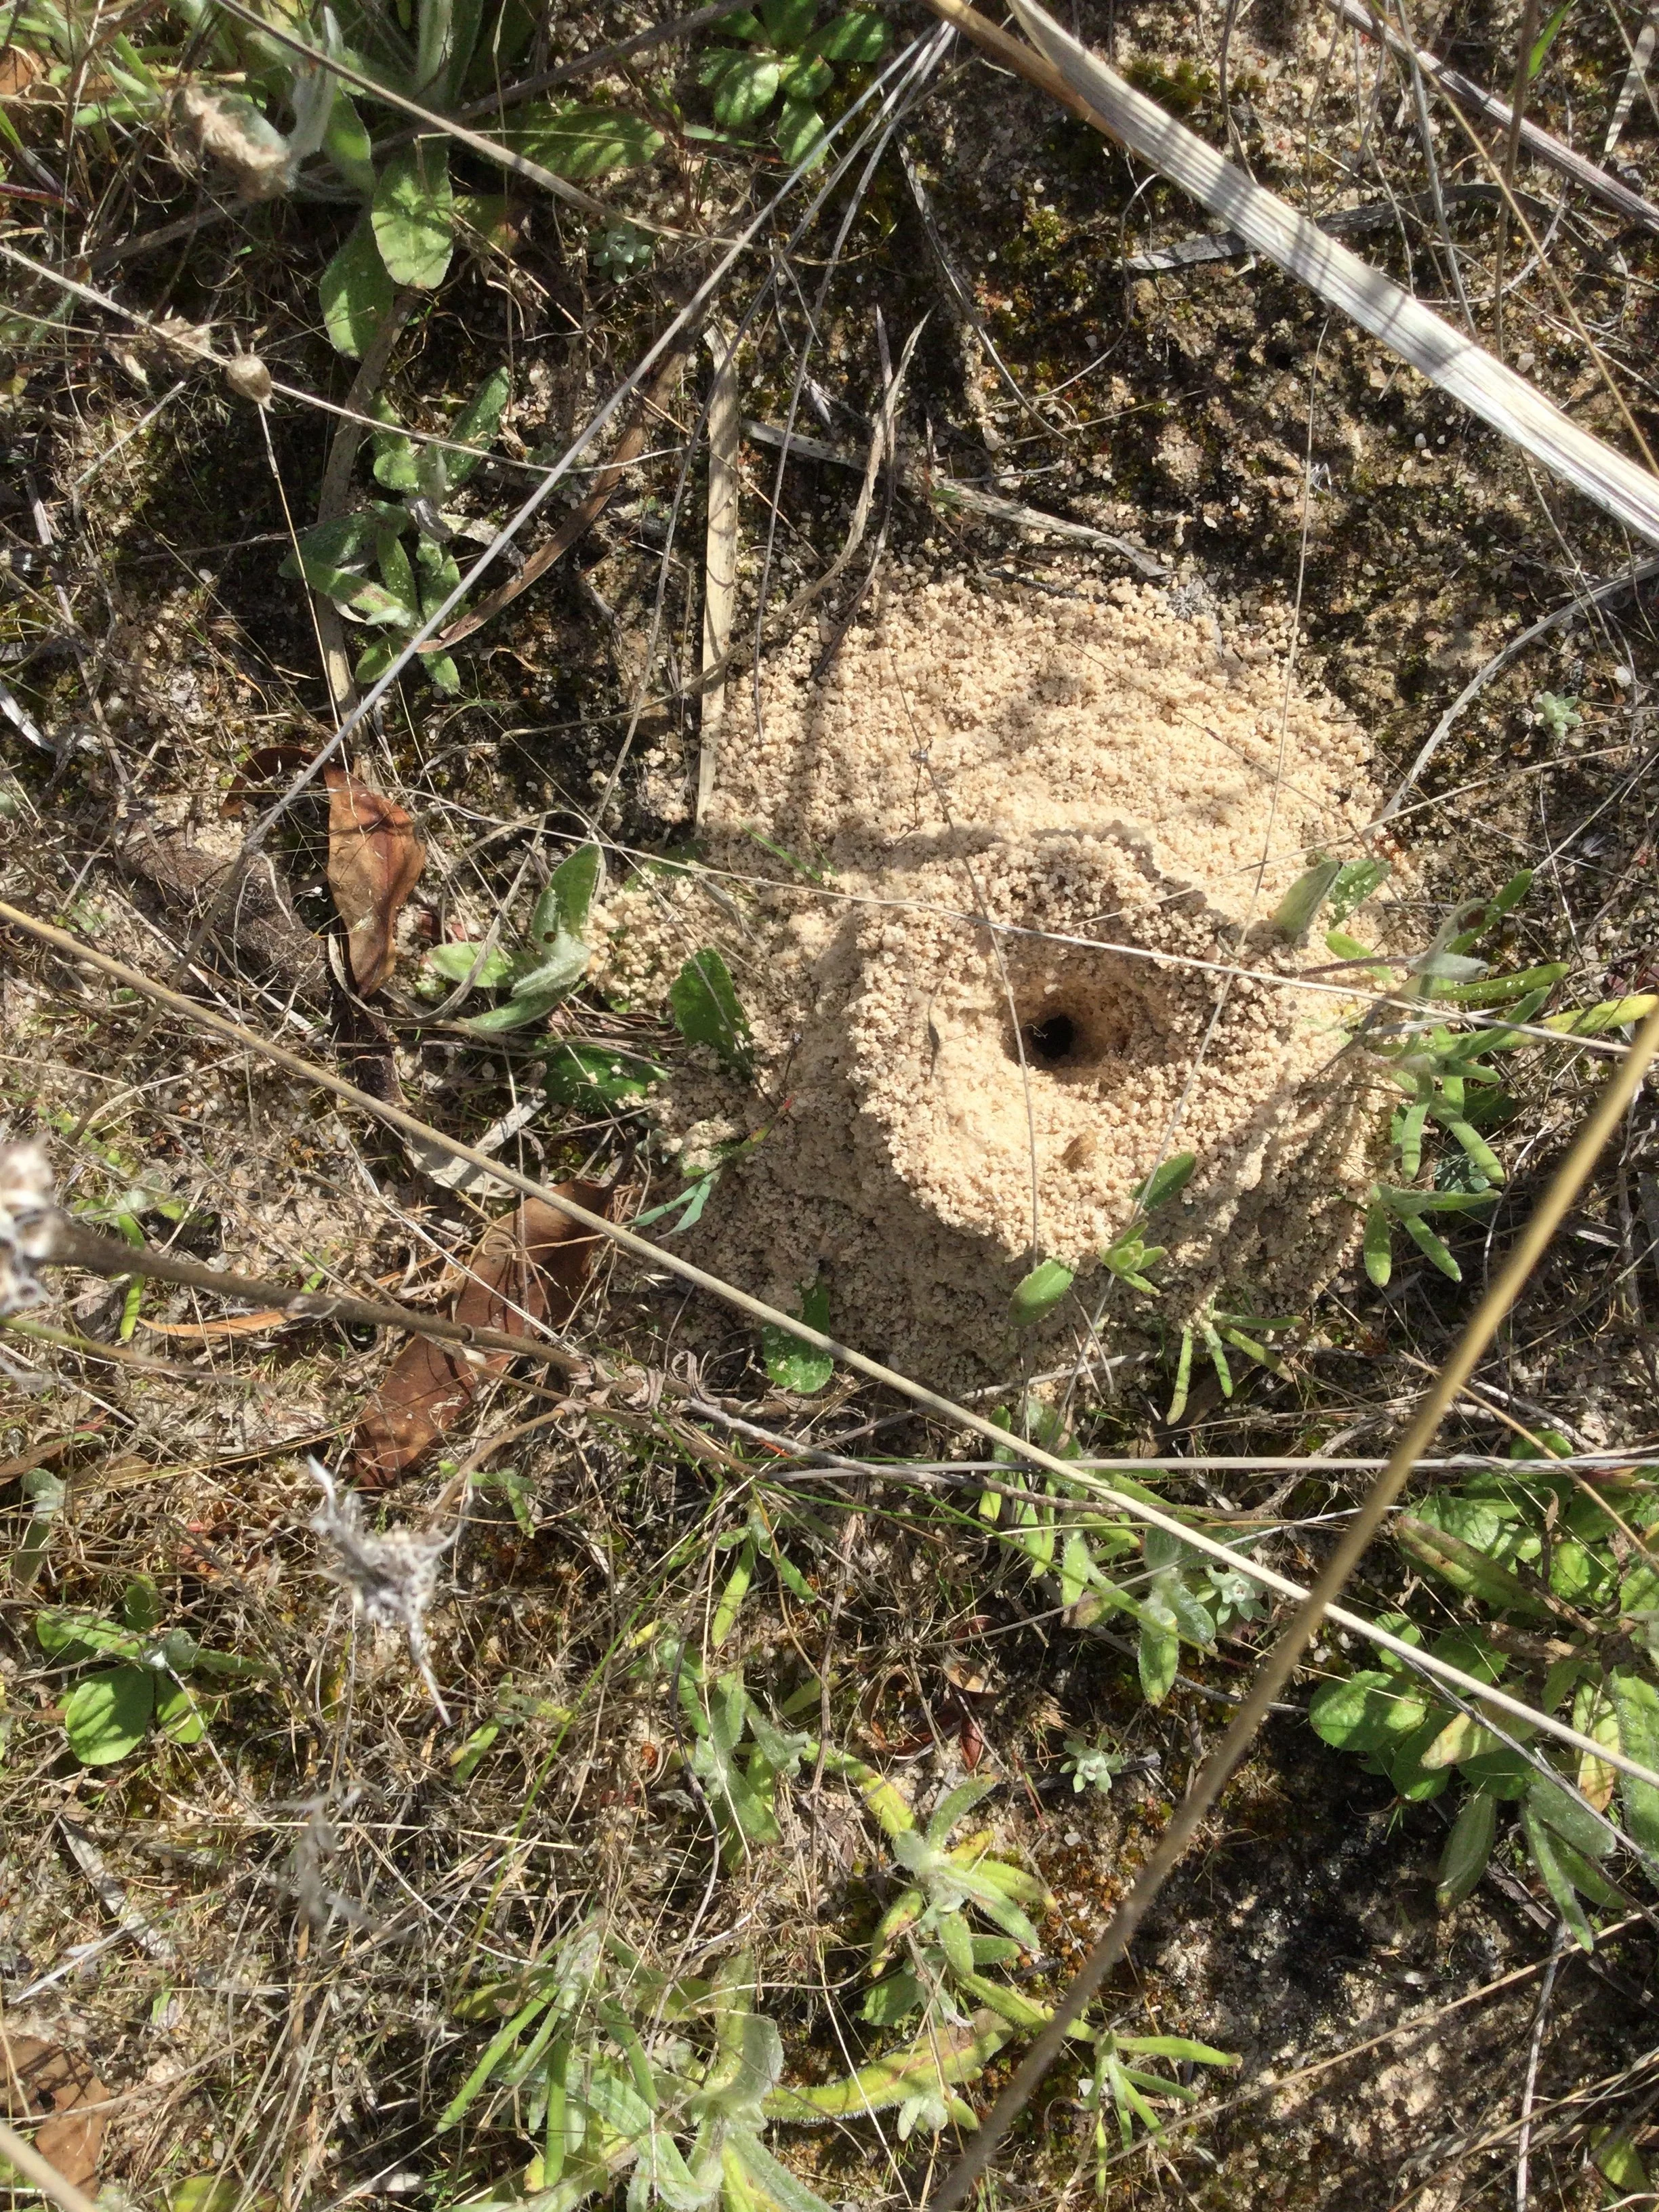
Ant Nest
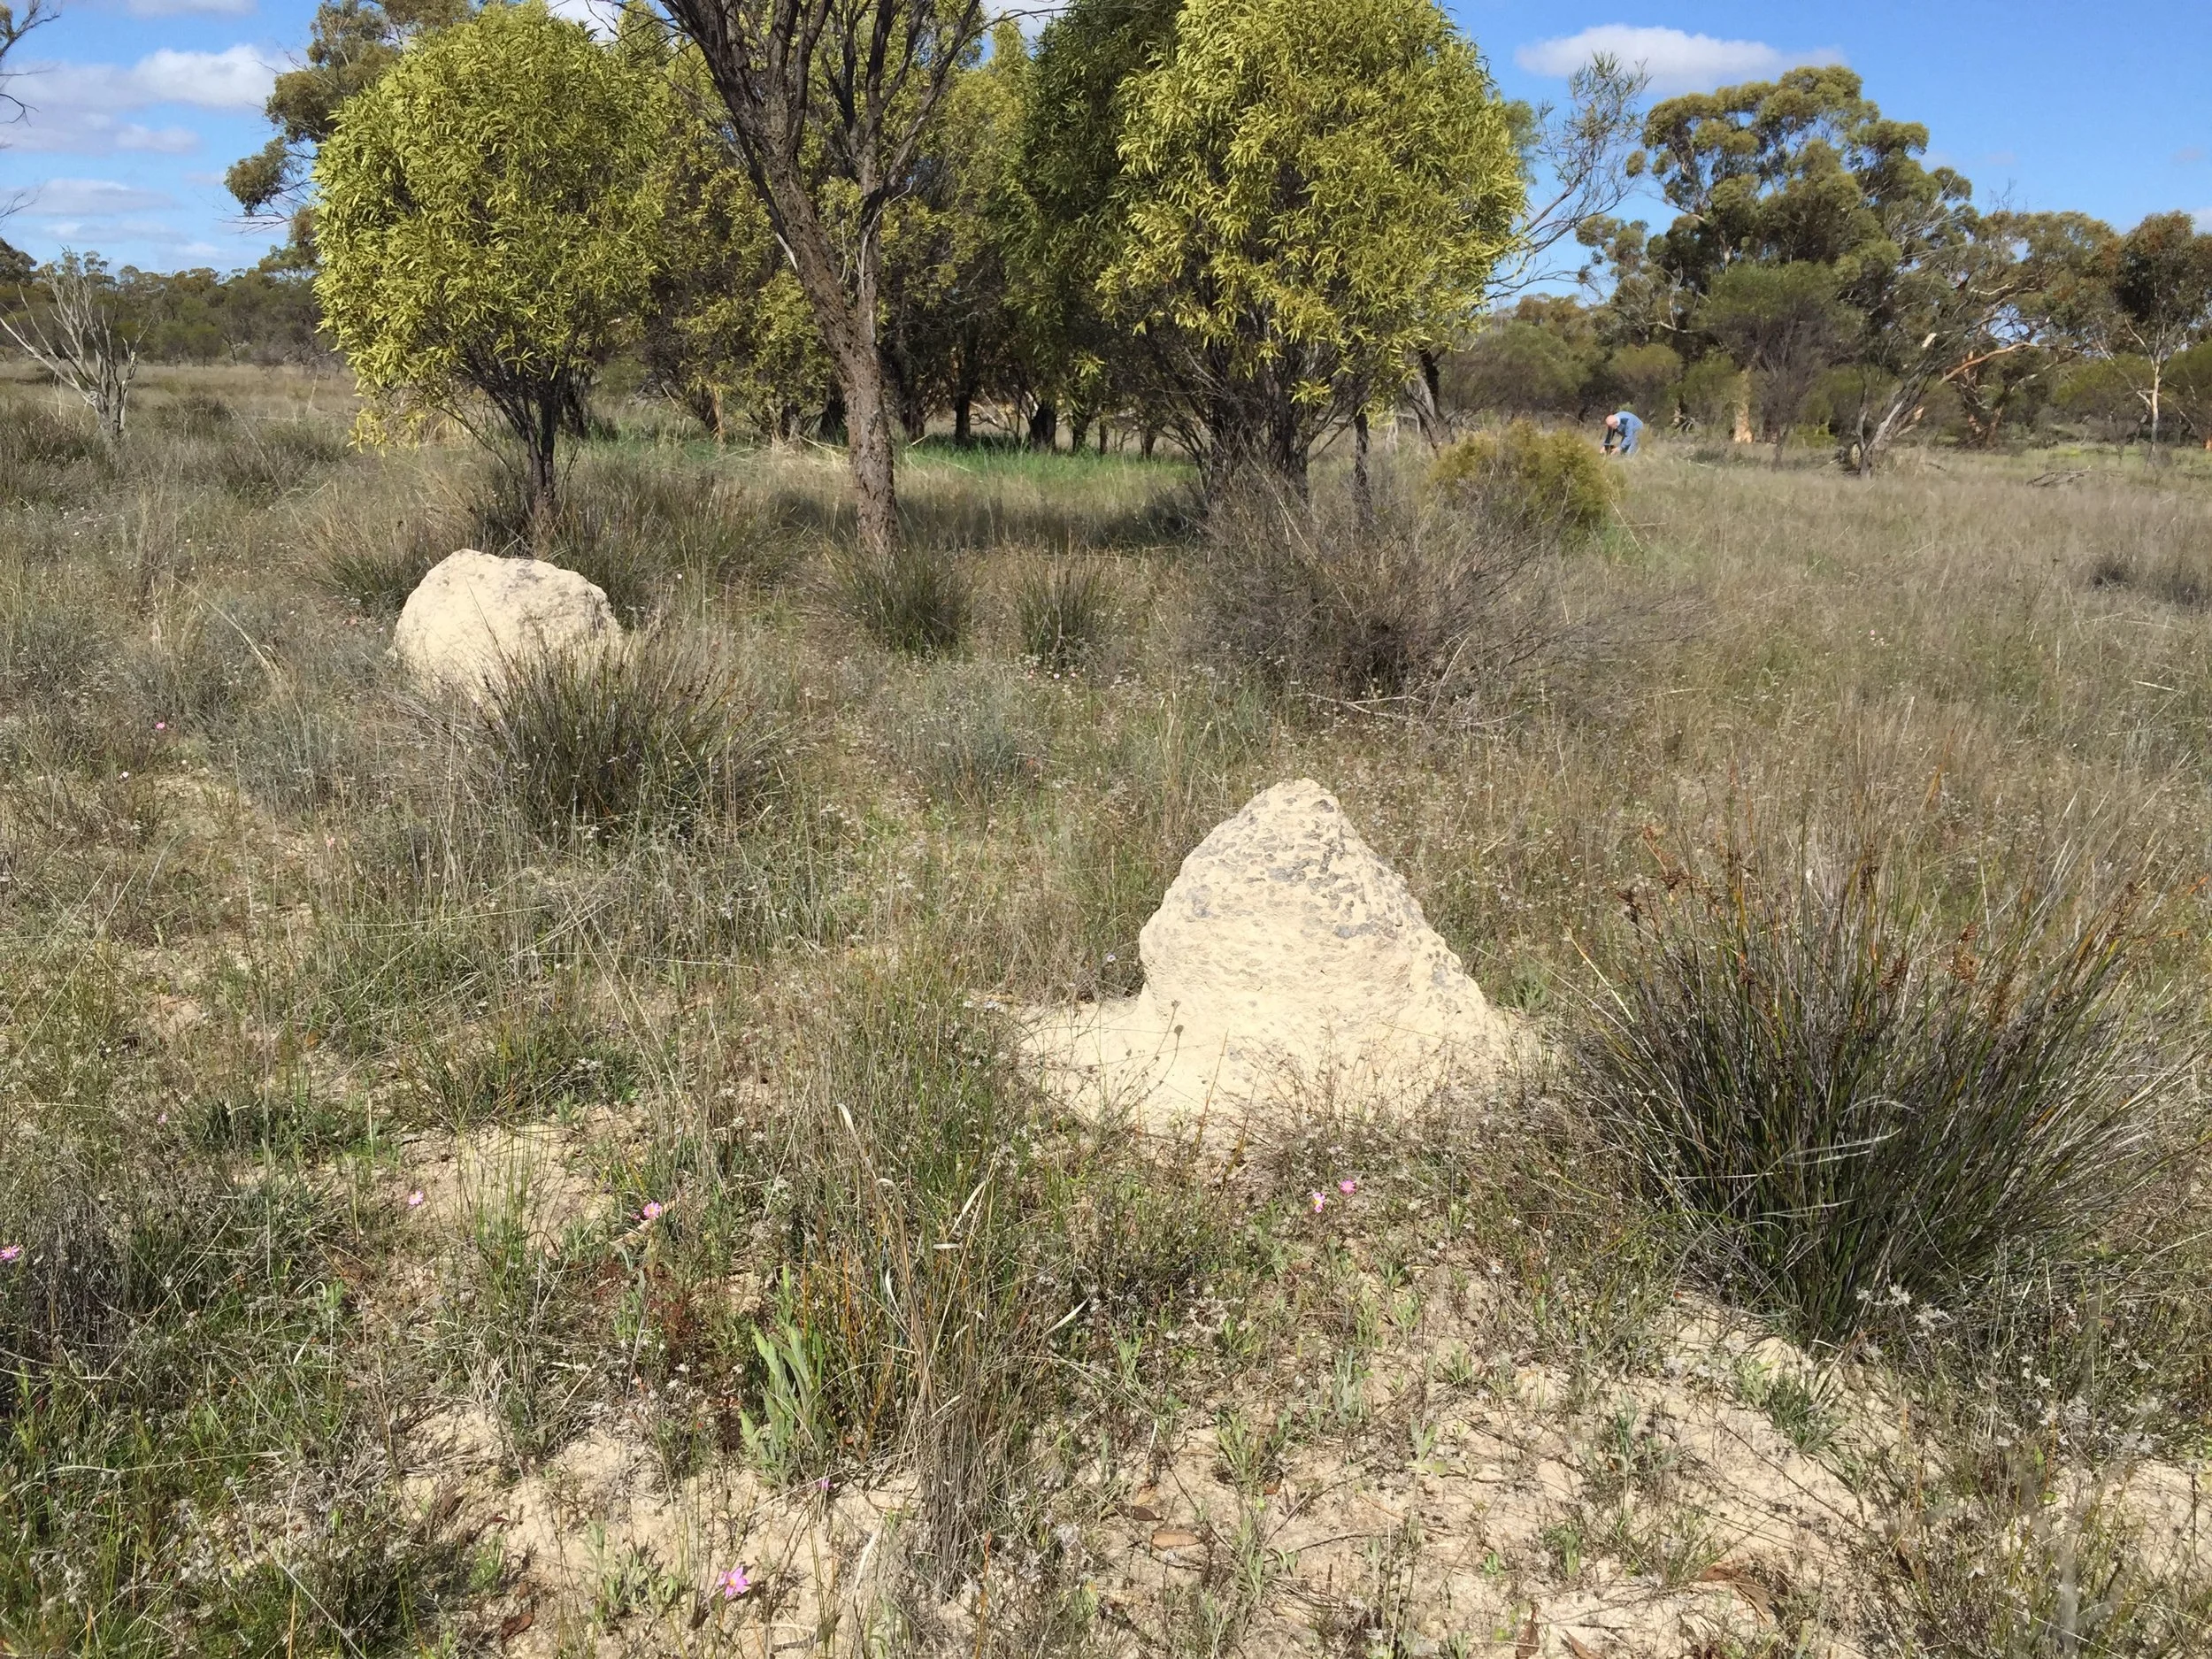
Termite Mound
Echidna Hole, photo Jamie Garrett