In the Classroom
Working with Animals
Prior discussion will help focus on the animals in the Field site. Discuss with students what animals they know that live in their bush; these will most likely be vertebrate animals (with a vertebral column, or backbone). Bones on the inside of an animal’s body allow the outside to grow large. The animals captured will be small, their skeleton is on the outside. They are called invertebrates, because they do not have a backbone.
Students may be helped to distinguish between vertebrates and invertebrates. A graphic is provided (Invert/Vert) for an exercise in understanding the difference.
Activity
Recording Invertebrates From the Pittraps:
INSPECTING THE TRAPS
1. Visit the site and collect the pits after 1 week. Examine carefully, removing small lizards (if present) by grasping their upper body (not by their tail). Replace lids. Make good the hole.
2. Arrange the students into working groups (4 or 5, depending on class numbers) with a trap and assign a more adept student to investigate the trap. Other students will record, using tallies.
3. Distribute WORKSHEET 2 - Working with Animals in the pittrap.
4. Using a wooden probe, the investigator manipulates the animal contents and counts
• how many have wings
• how many have a hard covering
• how many are worm-like
• how many have ‘feelers’ at the front,
• or at the back
• how many have 6 legs
• how many have lots of legs.
5. The recorder enters into the Worksheet.
MAGNIFYING THE CATCH
1. Students may download the free App called Magnifier onto their iPads.
2. Using plastic tweezers, carefully remove an invertebrate, and place it in a small, covered Petri dish.
3. Using Magnifier, help the student to focus their iPad on the animal and record a photograph.

Recording Invertebrates. Yr 1, Woodlands PS. Photo, Jenny Russell
Activity
Draw an Invertebrate:
1. Have students draw an invertebrate in their collection. An example on the class screen showing general body plan of a beetle, or ant, will help students as reference.
2. Label all main parts.
3. All drawings will be added to the Habitat model. https://www.youtube.com/watch?app=desktop&v=8Yc_YPLrDOE
FOR CLASSROOM DISCUSSION
Discuss with students what they know about the invertebrates in the traps. The answers to the questions help students to relate structure to function.
• Do they all have legs? (why do we have legs?)
• If they don’t have legs, how do they move?
• Do they have wings? (if yes, what for?)
• Do some have a hard covering and others have soft?
• Where’s the best place for an animal with a soft body to live? Why?
• How does a hard covering help a tiny animal?
• Do some have ‘feelers’ at the front? (why do animals need to know what’s at their front?)
• Do some have feelers at the back (rear) – what are they for? (all lay eggs, and rear feelers are for manipulating their eggs – in a hole).
You may like to research answers to their questions on the Internet.

Millipede
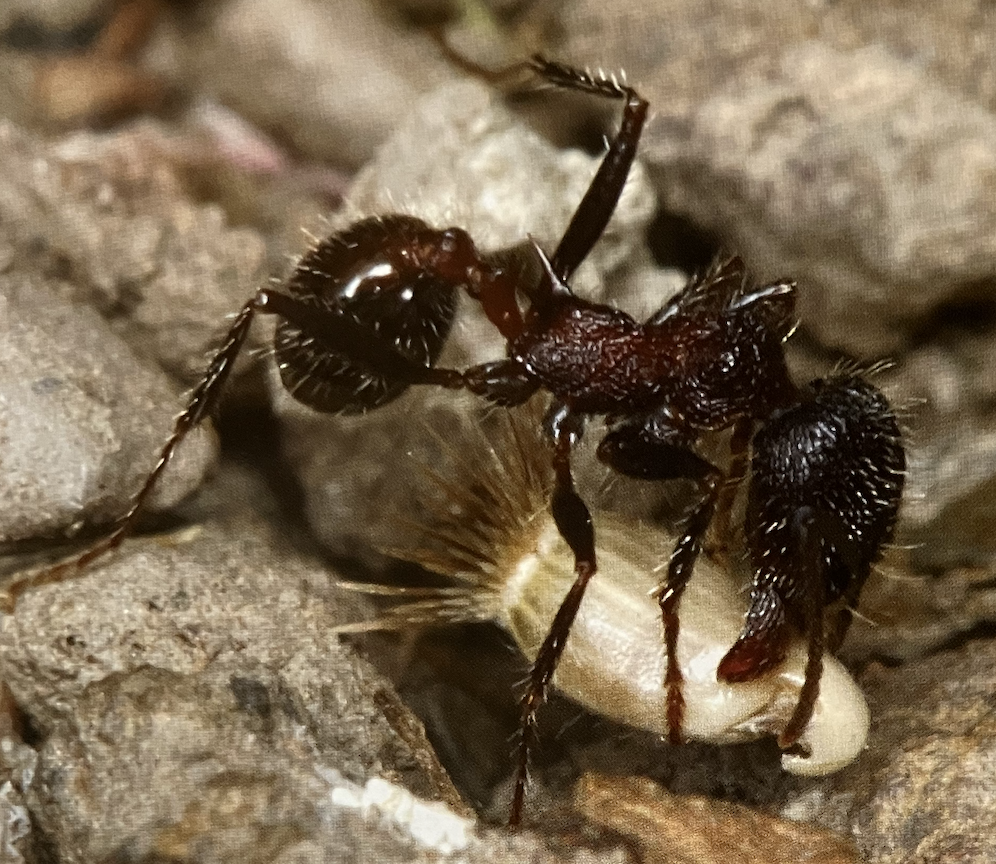
Sugar Ant
Activity
Make Words from ‘Invertebrate’:
For oral repetition, break ‘invertebrate’ into short sounds on the class screen, such as
IN – VER – TEB – RATE.
1. Arrange the letters in large size, with space between. Set students the task of using the letters to find other words, such as ‘eat’, ‘tin’, ‘rat’, ‘rave’, etc.
2. Stick onto the ‘chat’ wall. (From Jenny Russell, Year 1, Woodlands Primary School)
Activity
Working with Animals Seen, Recorded, and Photographed:
Aim to arrive at a comprehensive list of animals in the bush, either seen or photographed or captured in pittraps, together with their location. Location of pit trapped animals is recorded as ‘litter.’
1. Construct a Table on the class screen, with 2 columns. In column 1 is listed the name of the animal. In column 2, is the animal’s location.
2. Enter students’ records, from their WORKSHEET 1, asking each student to name the animal they recorded (Column 1) and where they found it (Column 2). (For example, on the ground, in litter, on tree leaves, hole in tree trunk, under bark, burrow, nest, mound, etc.).
3. If locations only were photographed by the teacher, enter into Column 2, and ask students to identify the animal that lives at the location (i.e., a litter animal identified in the previous Activity, aphids or insect larva on leaves, beetles bore holes in tree trunks, ‘worms’ or insect larvae growing under bark, lizard has a burrow, bird has a nest, termites live in a mound, mallee fowl lays its eggs in a large mound etc.).
4. These will be new words and should be added to the Word Wall.
From the Expert
Jennifer Russell says…
“I have spent many years in a teaching career working with young children, predominantly in Years 1 and 2. During that time I’ve discovered that positive interaction with the natural environment is essential for children to develop respect and sensitive awareness of the sequence of life...
...The realisation that without pollination all life will cease to exist, creates greater thoughtfulness when approaching vertebrates, invertebrates, trees, and flowers. Young children can become the conduit that could prevent the possible desecration of the natural world in which they live. This programme provides the scientific knowledge and support for teachers to encourage children in their learning about the cycle of life, and how vital it is that we all work together to maintain it.”

Activity
Let’s Talk About Shelter:
Engage with students in a class discussion on shelter.
• Why do students think each animal was found in a particular location?
• Might it feel protected? What might each animal be sheltering from? Answers might include – heat, rain, or from being eaten by another animal (predation.)
• Guide students to the conclusion that animals live where they have shelter, (whether it is underground, on a tree, in a mound, in a nest underground, in a nest on a tree, alone in a hole, etc.). This is the definition of habitat.
• Where do students find shelter? (in a bed, under a bed, in a tree, in a house, in a cubby etc.).
• How do they feel in their shelter?

Show the photograph of an Aboriginal mia. These were mainly used as shelters for mothers with babies (From pers.com with Ballardong Elder, Terry Dick).

Aboriginal birthing Mia in Newdegate. Photo Cleve Hassell.
Activity
As a Class Project, Students Construct a Mia:
This can be outside, with suitable sticks and leaf fronds; or inside the classroom, using pop-sticks, twigs, leaves, etc.

Design and Technologies: Have students build a model shelter from lego, or other available materials. You may like to have them build the shelter for a stuffed animal or a small toy. Test which shelters withstand water from a watering can and wind from a hairdryer or fan.