In the Classroom
Seeds and Pollination
Explain that seeds contain 2 important things – a map and food. The map (genes) has all the information for growing a new plant. The food provides enough energy for the plant to grow and develop its roots.
This explains why seeds are a very rich source of food. All a seed needs for starting to grow (germinate) is water.
Activity
Show that Seeds Need Water to Grow:
This is a simple experiment involving measurement and introduces students to the basis of scientific experimentation.
1. Ask a question - Do students think that seeds need water to grow? If the answer is ‘yes’, write on the class screen –
Answer 1 – seeds need water to grow.
Some students may disagree; write this as
Answer 2 – seeds do not need water to grow.
2. How will we find an answer? Discuss with students how they might show Answer 1 is correct (prove). A likely answer might be to plant the seeds, keep them wet and watch them grow.
3. But what if the plants do not need water (as in Answer 2), and still grow? In this instance, they have not shown that the plants need water to grow.
4. Arrive at the conclusion that there has to be a comparison - for example, grow seeds without water, and compare with growing seeds with water, and see the result.
5. Help them set up an experiment, using bean sprouts, as follows:
AIM
Show that seeds need water to grow.
MATERIALS
• 2 glass containers
• bean sprout seeds
• cottonwool
• rulers
• water
METHOD
1. Set up 2 glass containers, and line each base with 2-3 cm cottonwool.
2. Moisten the cottonwool in only one container and label – WITH WATER.
3. Label the second container – NO WATER.
4. Scatter equal amounts of bean sprouts over the cotton wool in each container, as evenly as possible.
5. Place containers under, or near a window. Plants need natural light – does a student know why?
6. Keep the cottonwool moist only in the container (WITH WATER) during the experiment (but don’t f lood).
7. Plants should germinate in about 5 days.
8. Students measure the height (with a ruler) of the sprouts each week.
9. Record in WORKSHEET 4- Watch Our Bean Sprouts Grow (TOOLBOX).
10. Leave growing for several weeks.
RESULTS
Help students to write up this experiment.
• This may be done with drawings.
• Or a column graph, with Weeks measured along the x-axis and Height of the sprouts up the y-axis.
• Help them write a simple conclusion, such as: ‘plants need water to grow’- proving Prediction 1.
• This experiment helps students to understand the concept of a ‘fair test.

Growing bean sprouts, Year 3 Mt Pleasant PS
Activity
How Seeds are Made: Role Play as Pollinators:
MATERIALS
• Choose pollen micrographs of trees (Pollen sheets, TOOLBOX) that students have drawn and displayed in the classroom Activity 9 (Module 1)
• Cottonwool balls
• Adhesive tape
METHOD
1. Assign each student the identity of a pollinator (bird, ant, bee, Honey possum).
2. Distribute individual pollen micrographs to students (4 or 5 each).
3. Have each student attach ‘their’ pollen to a cottonwool ball with adhesive tape.
4. Each student matches ‘their’ pollen to the correct tree (or flower) on the Wall display.
5. Help students arrive at the correct tree, with a display on the class screen for reference.
HOW SEEDS ARE MADE
Explore a video from ScienceSauceOnLine - Pollination Explained.
https://www.youtube.com/watch?v=Dfvyoir_SCY&t=41s
Show PPT - Flowers and pollination (Part 2 - pollination)
1. Help students understand that when an animal visits a flower, it collects pollen on its body.
2. When the animal visits another flower for more pollen, some of the pollen grains from the first flower are transferred onto the female style of the next flower that the animal visits.
3. The pollen grain burrows down the female style and joins with an ovule in the flower’s ovary.
4. Together, the pollen grain and the ovule form a seed. (Word wall)
This is called pollination. Break the word into syllables and sound as (poll – in – a - shon). Have students repeat. (Word wall).
Ask students if they have seen an animal on a flower, a bee, an ant, a wasp, a butterfly, or a bird visiting a f lower. What do they think the animal is doing?
• Animals are drinking the nectar and eating the pollen.
• Have students noticed how bees collect the pollen and put it in baskets on their legs?
• What do bees do with the pollen? (Take it to their hive and feed the queen bee)
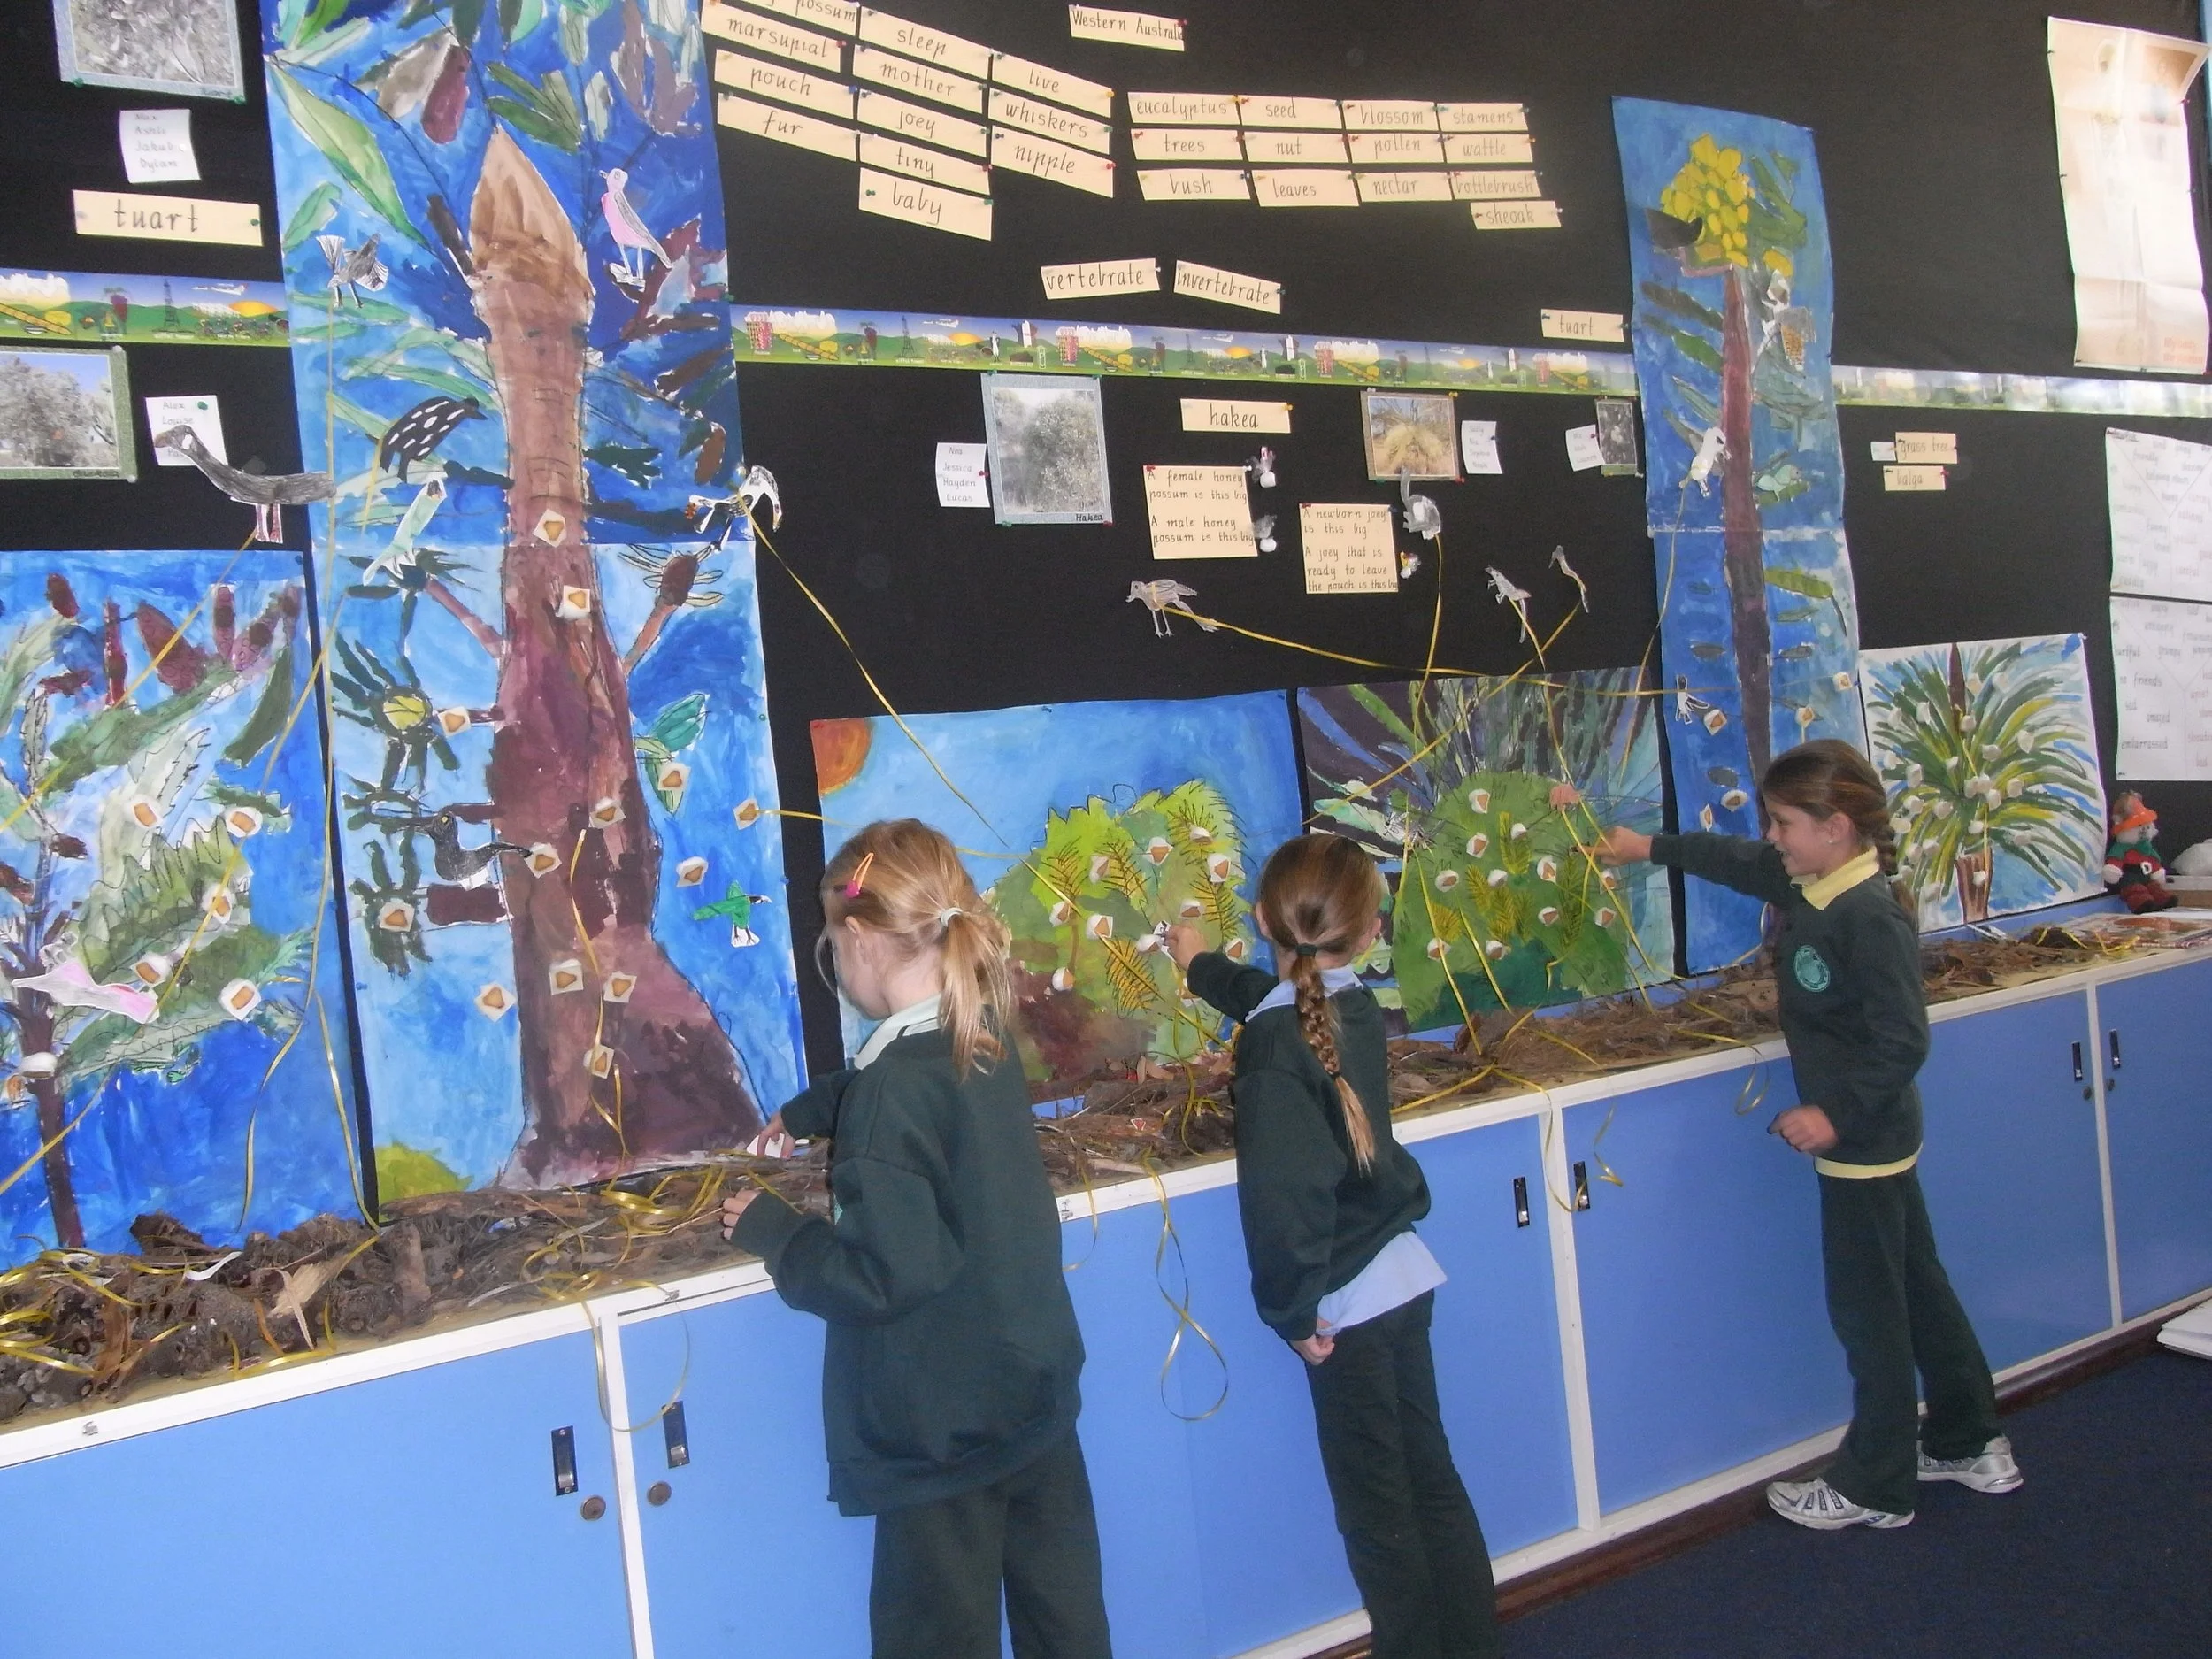
Role play as pollinators. Yr 1 Woodlands PS. Photo: Jenny Russell

Moth pollinating a mulla mulla, photo Rob Davis
Activity
How Seeds are Packaged:
Seeds are packaged in a protective coat, called a ‘fruit’.
METHOD
Examine seed pods collected in the litter.
• Gum tree seeds and banksias have hard woody cases, called nuts.
• Sheoak and pine tree seeds are in hard woody cases called cones.
• Wattles (and garden peas) have seeds lined up in a soft pod.
1. Draw and label the seed cases, identifying which tree they are from.
2. Add seed cases to the appropriate tree in their Habitat model.
3. Discuss reasons for wrapping seeds. Why do some trees put their seeds in hard coverings (like gum trees, banksia, she-oak), while others (like apples, wattles, and tomatoes) wrap their seeds in a soft edible coat, or pod? Some reasons are:
• Protecting seeds. Hard coating around seeds protects them from drying out. This is a common feature of seeds in Australia’s dry climate.
• Spreading seeds. Remember that leaves need sunlight to make food and grow. Therefore, the tree needs to spread its seeds widely, outside its shady area. How could it do that?
• Putting seeds inside a sweet soft pulp (a fruit) will entice an animal to eat it and spread the seeds away from the parent plant, as the seeds will be passed out in the animal’s scats further away.
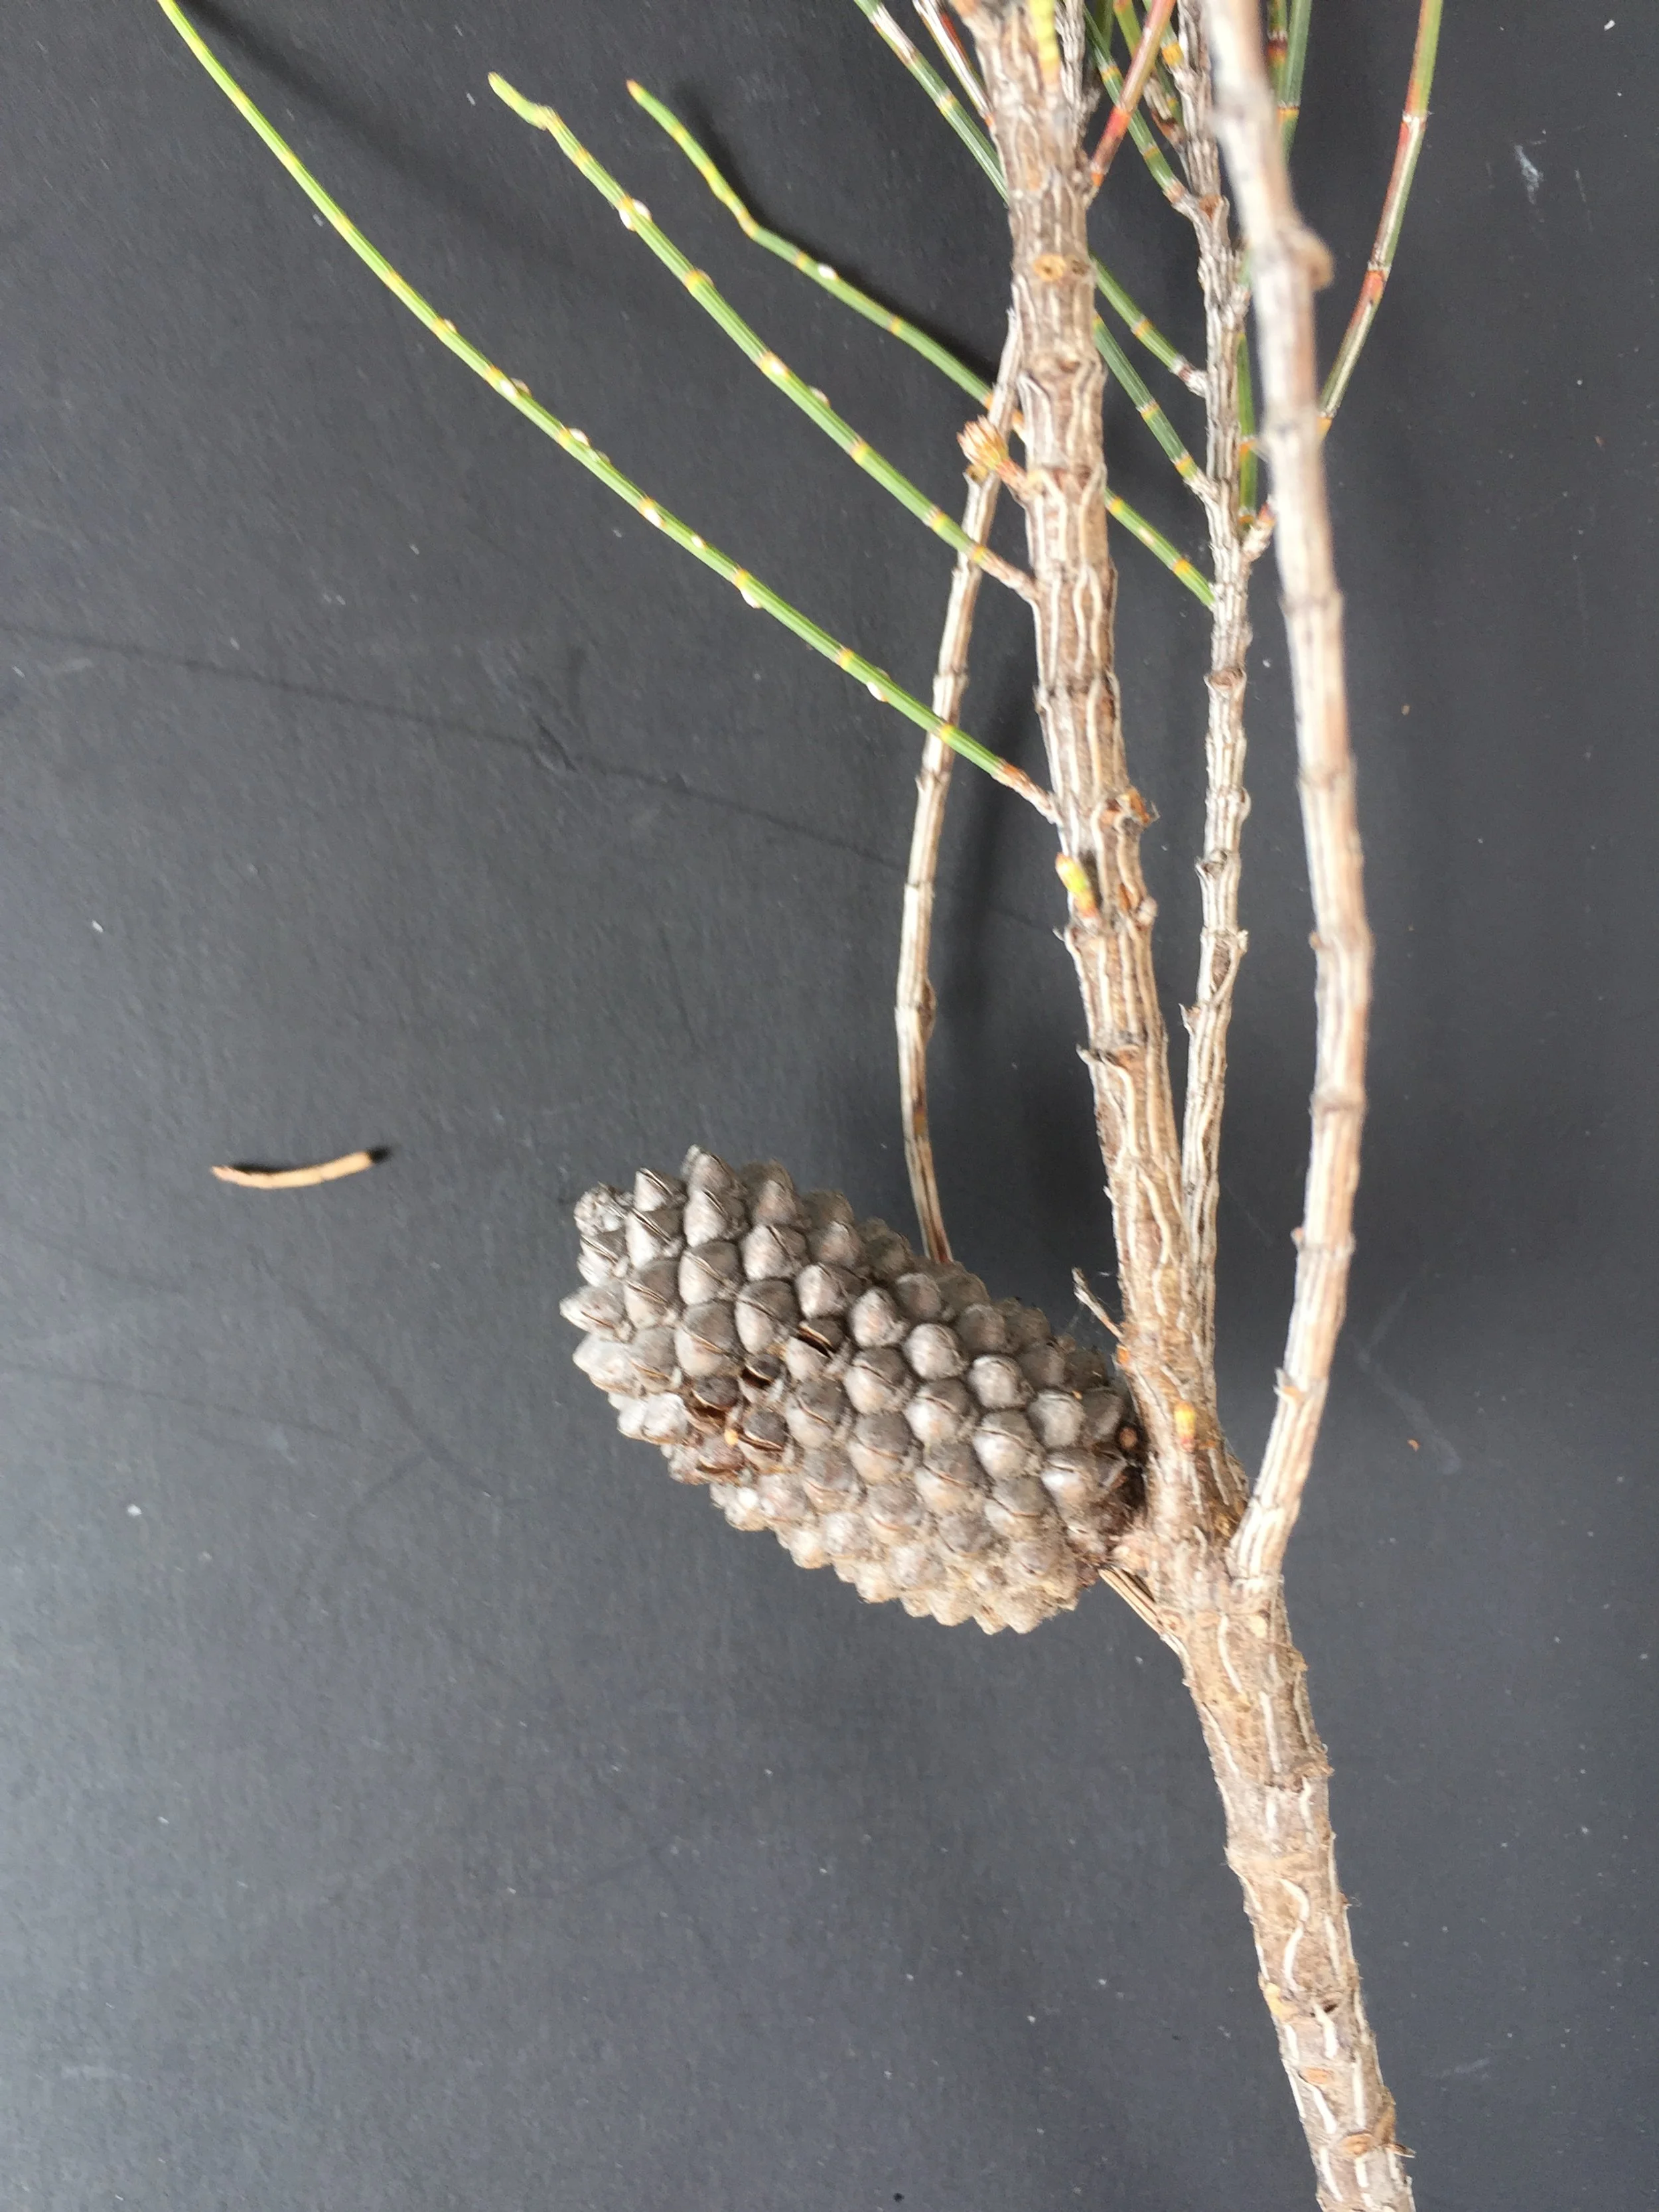
She-oak Cone
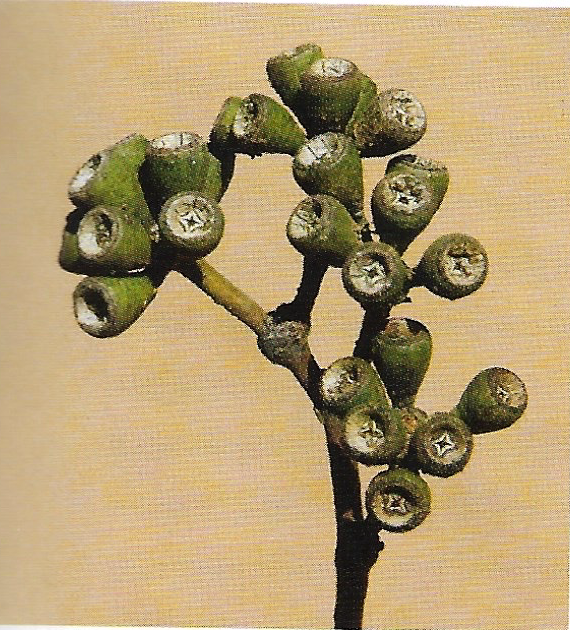
Gum Nuts
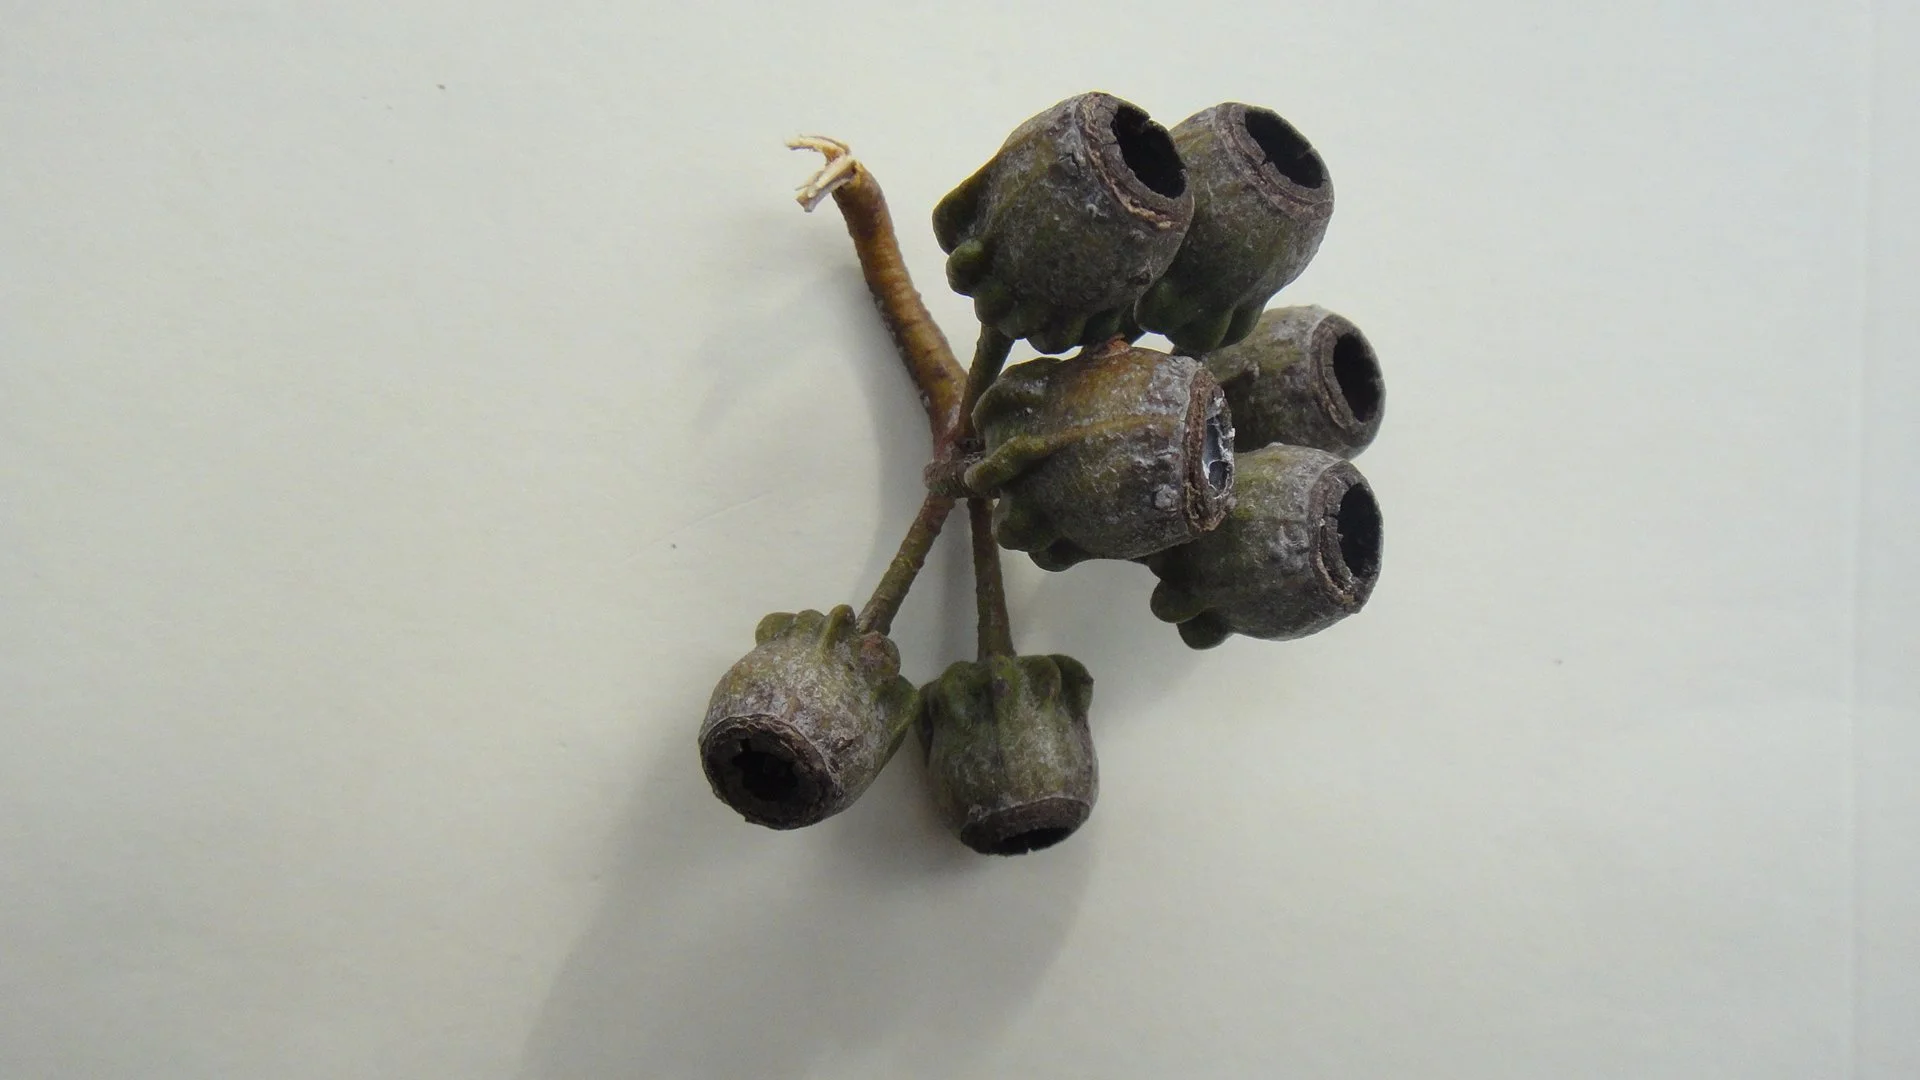
Gum Nuts (Eucalyptus Torquata)

Wattle Pods
Activity
Counting seeds (Apple, Wattle Pod, Banksia):
MATERIALS
• Collect acacia seed pods from the ground during Term 1. The Jam tree (Acacia acuminata) flowers in djilba (August/September) and seed pods are produced in bunuru (February/March). Store pods for the time of the Activity.
• Collect a banksia nut from the bush prior to the lesson.
• Apples, 2 to 5 (depending on the number of students).
METHOD
• In an apple or a wattle pod
1. Working in pairs, distribute 1 apple (cut in half) and/or one wattle pod to each pair of students.
2. Help students to feel the texture of the seeds’ covering
• apple seeds are surrounded by a firm flesh – this means it is called a fruit.
• wattle seeds are surrounded by a thin covering, called a pod.
3. Help students to carefully extract the seeds from the fruit and/or the pod.
4. Spread the seeds on paper.
5. Count the seeds.
6. Students draw the pod/fruit and label. Beside the pod/fruit draw the seeds and record the number.
• In a banksia nut: The banksia nut will contain several open follicles that indicate the number of seeds produced from the flowering spike.
METHOD
1. Refer students to PPT - Part 2 Pollination. (TOOLBOX).
2. Circulate the banksia nut (calling it a fruit is also correct) around the class, asking each student to count the number of open follicles and record in their notebook.
3. These indicate the number of seeds that were produced by the flowering spike.
4. Record each tally on the class screen.
• If they vary, have students find the middle number (see Activity 6, The Bush as Habitat).
• Students draw the banksia nut, label, and record the number of seeds it produced.
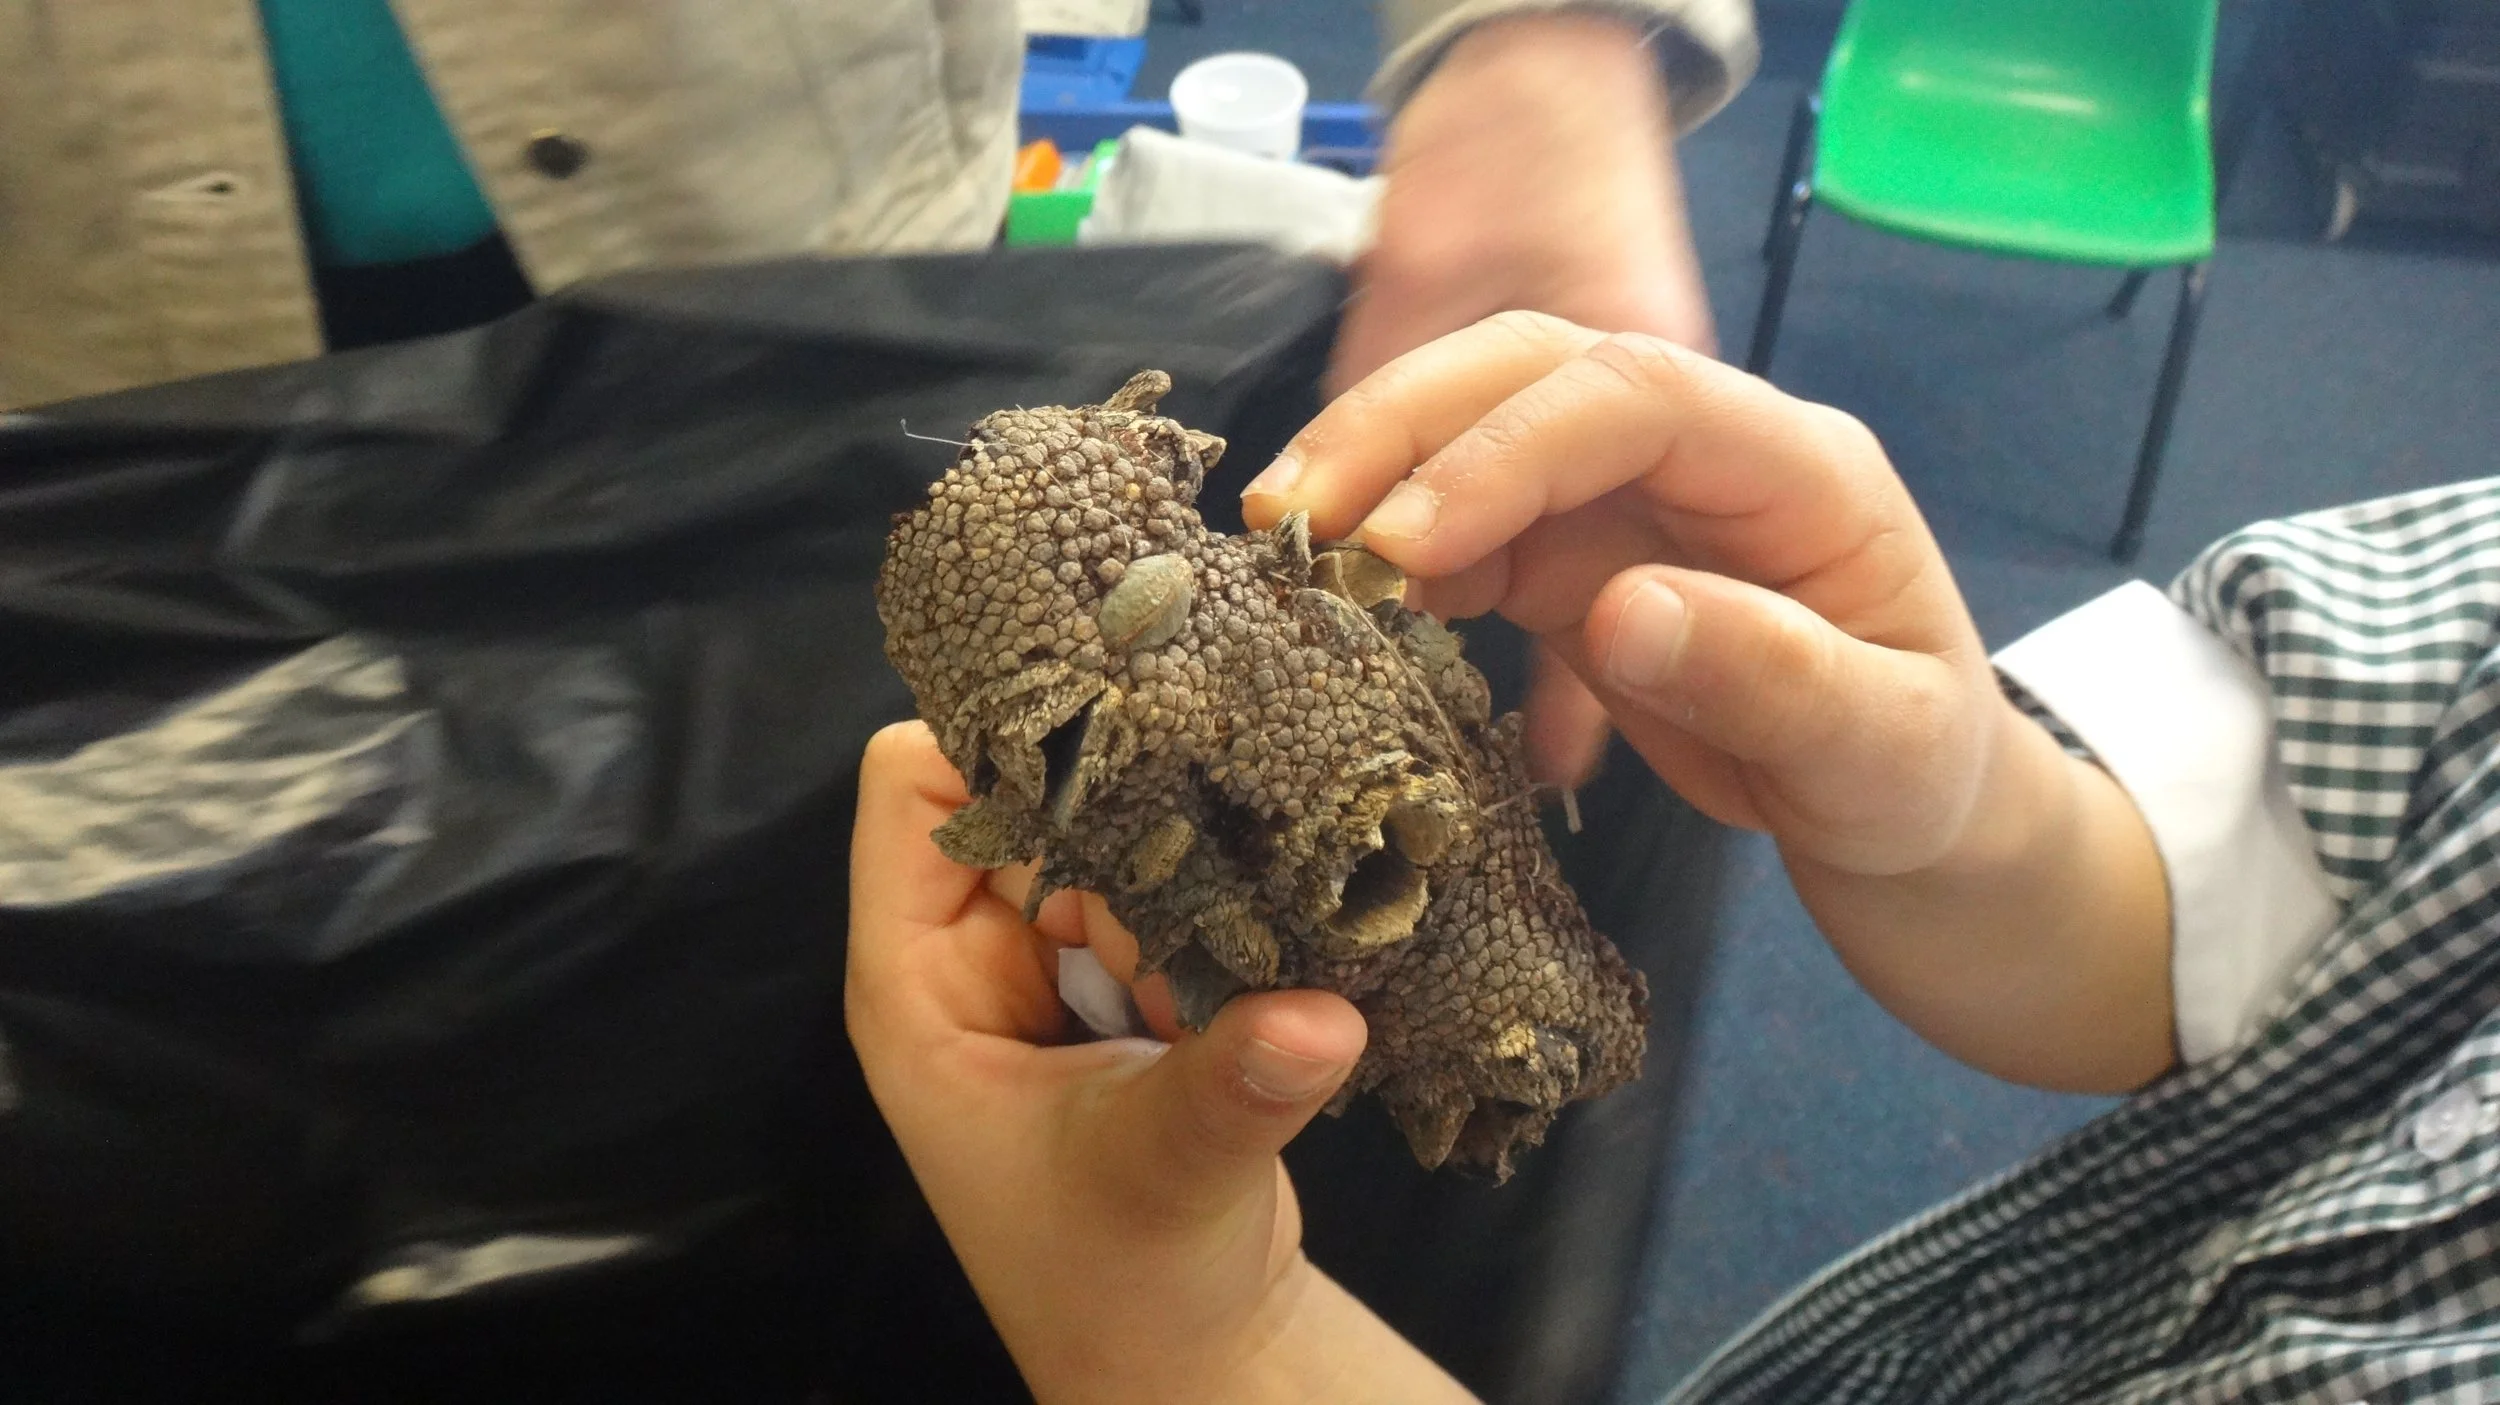
Counting follicles in a banksia nut, Yr 2 Mt Pleasant PS. Brooke Gardiner
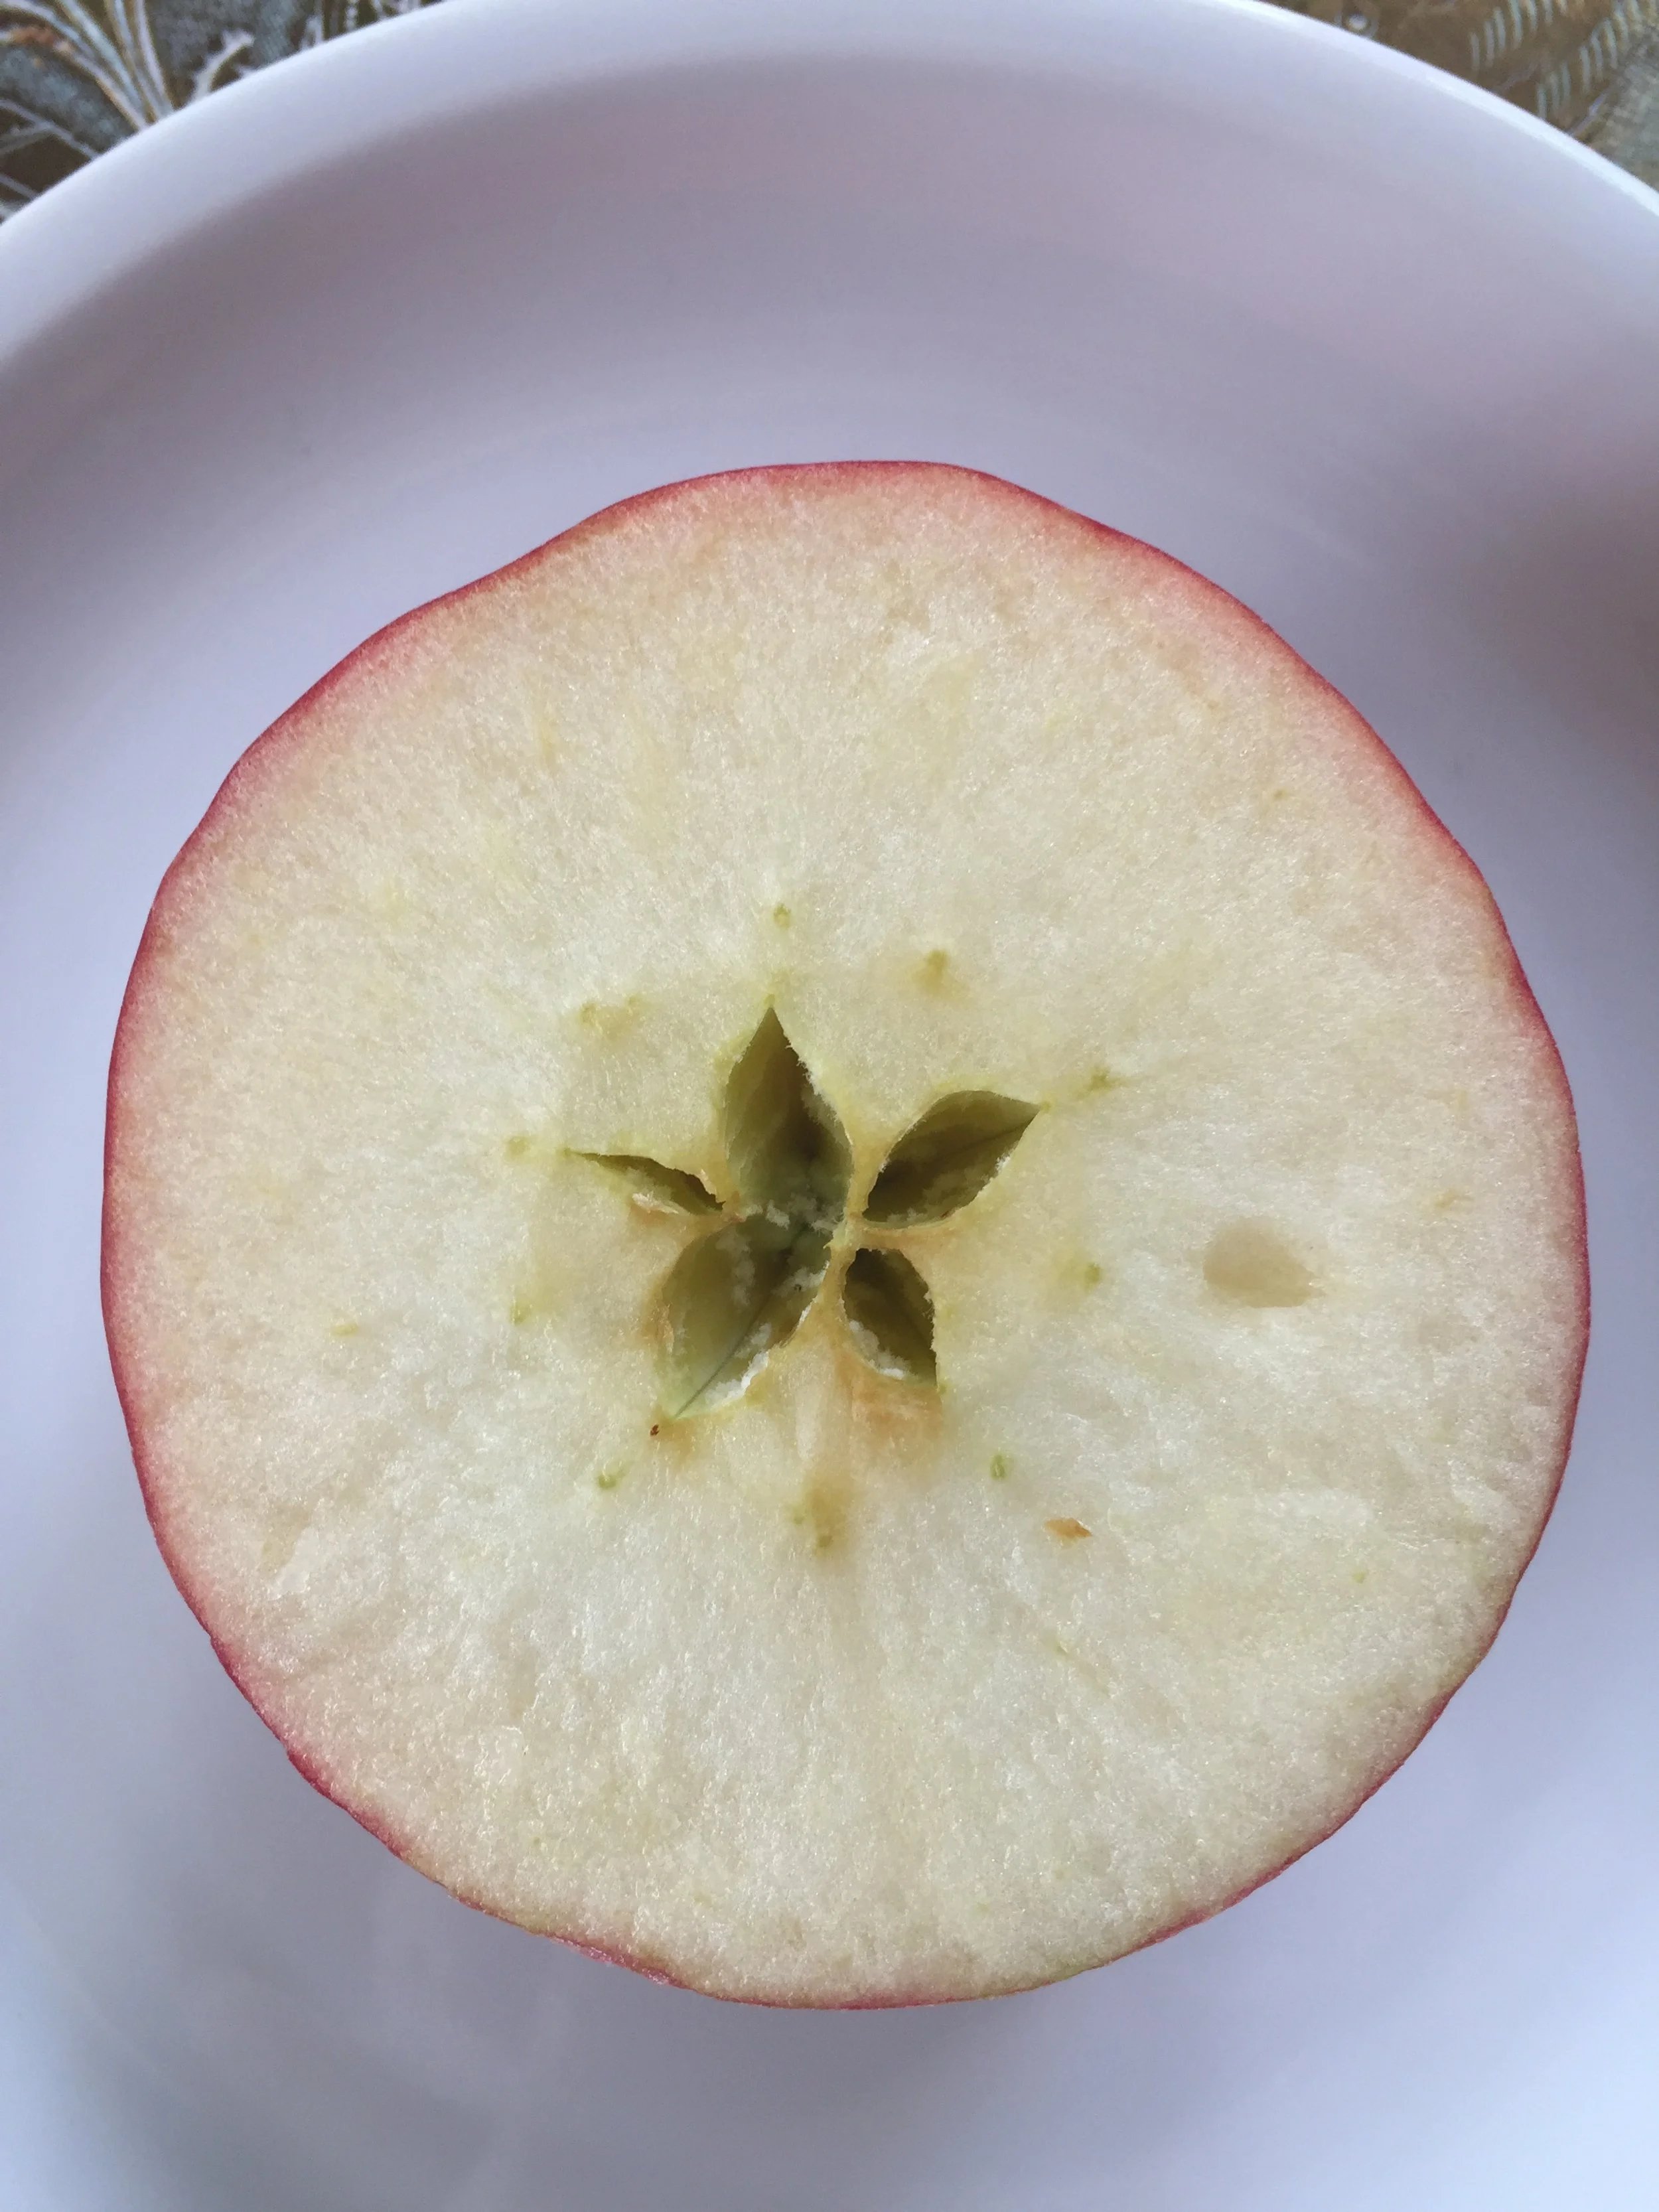
Seeds in an Apple
Activity
Draw the Life Cycle of a Tree (Banksia or Gum Tree):
Trees have a simple life cycle involving a tree, its flower, the seed and a tree.
Using students’ understanding of pollination, and the function of seeds, this is a simple exercise for students to understand the cyclicity of how plants grow.
• Have them represent each stage of the life cycle (plant, flower, seed pod, seed, plant) by arranging their drawings in a circle.

Banksia lifecycle. Yr1-2 Woodlands PS
Activity
What Fruits, with Seeds, do Aboriginal People Eat:
Ask your Aboriginal educators if they would share their knowledge about:
Seeds
Most seeds were gathered, eaten raw, or pounded into flat cakes and roasted.
• What seeds were collected from the bush?
• What plant do they come from?
• What season does the plant produce the seeds?
• How would they prepare them? How would they cook them?
• Are there other uses that Ballardong people have for seeds?
Fruits
• Bush potatoes and bush tomatoes (Passion Berry, Solanum ellipticum and Oondoroo, Solanum simile): all 3 have edible fruits and are eaten only when ripe.
• Quandong, wongup, has fruits that are high in vitamin C, and low in sugar.
• Fruits from the Kick Bush, condrun, were prized as bush tucker[1].
There are several shrubs found throughout Wheatbelt region that produce edible fruits.
Reference: Noongar Bush Tucker – Bush food plants and fungi of the south-west of Western Australia, (Vivienne Hansen and John Horsfall, 2019) www.uwap.com.au


Quandong fruit (wongup)
Activity
Cooking with Seeds, Making Damper:
• This is a successful activity that requires Aboriginal assistance. It connects young students with the concept of food originating from the bush and its preparation using fire.
• Ask Aboriginal educators to demonstrate how they make food with seeds, by preparing and cooking damper. Commercial flour consists of several seeds (mainly wheat) ground to a fine powder and may be used to make the damper.
• Ask Aboriginal educators if they would demonstrate how bush seeds (wattle) are prepared by grinding them between two stones.
• Students may assist in the mixing of flour and water, followed by eating the cooked damper.
Teacher Note: wattle seeds need to be ground very finely and added sparingly to the flour.
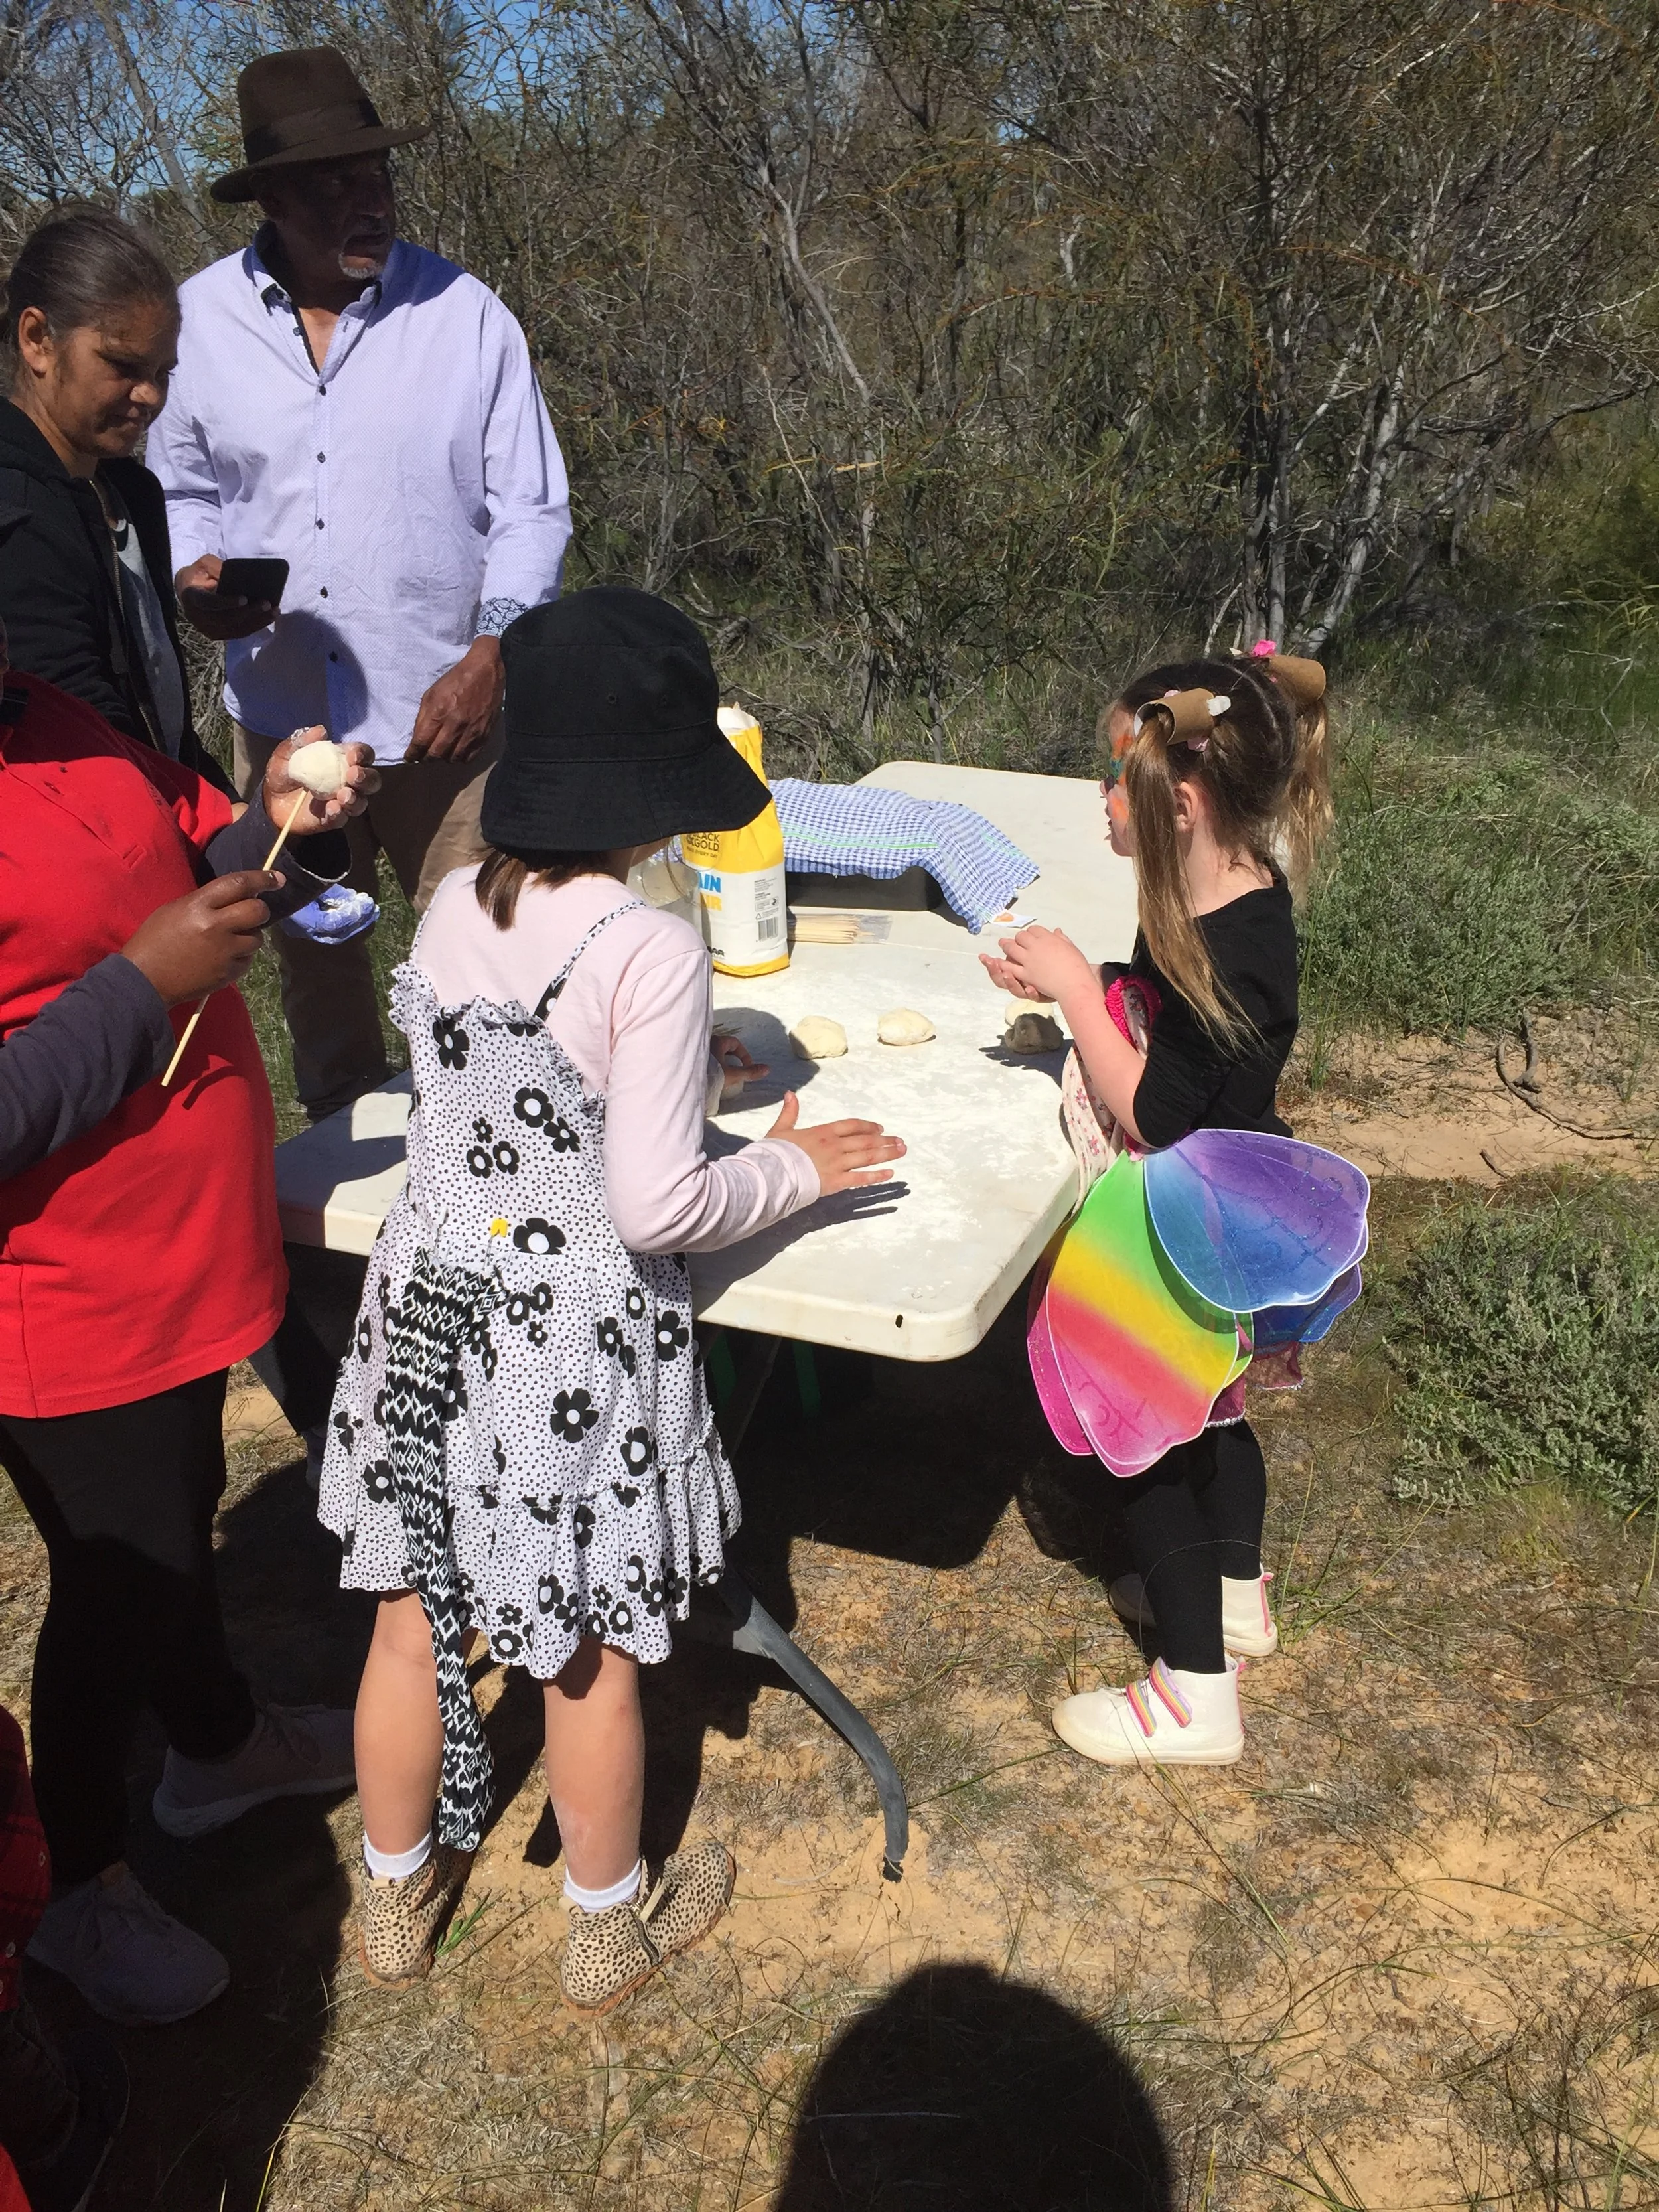
Making damper. Yr 1-2 students, Quairading District High School, with the Collard family