Adaptation Story
Learning Area:
English, Digital Tech
Relevant Content Descriptions:
English Year 5: AC9E5LA07 AC9E5LA08 AC9E5LE03 AC9E5LE05 AC9E5LY06
English Year 6: AC9E6LE05 AC9E6LY06
Digital Tech Year 5/6: AC9TDI6P07 AC9TDI6P08
Learning Outcome:
Create a digital story to represent the ways adaptation has occurred over time, with a focus on a particular species.
Prompt Text:
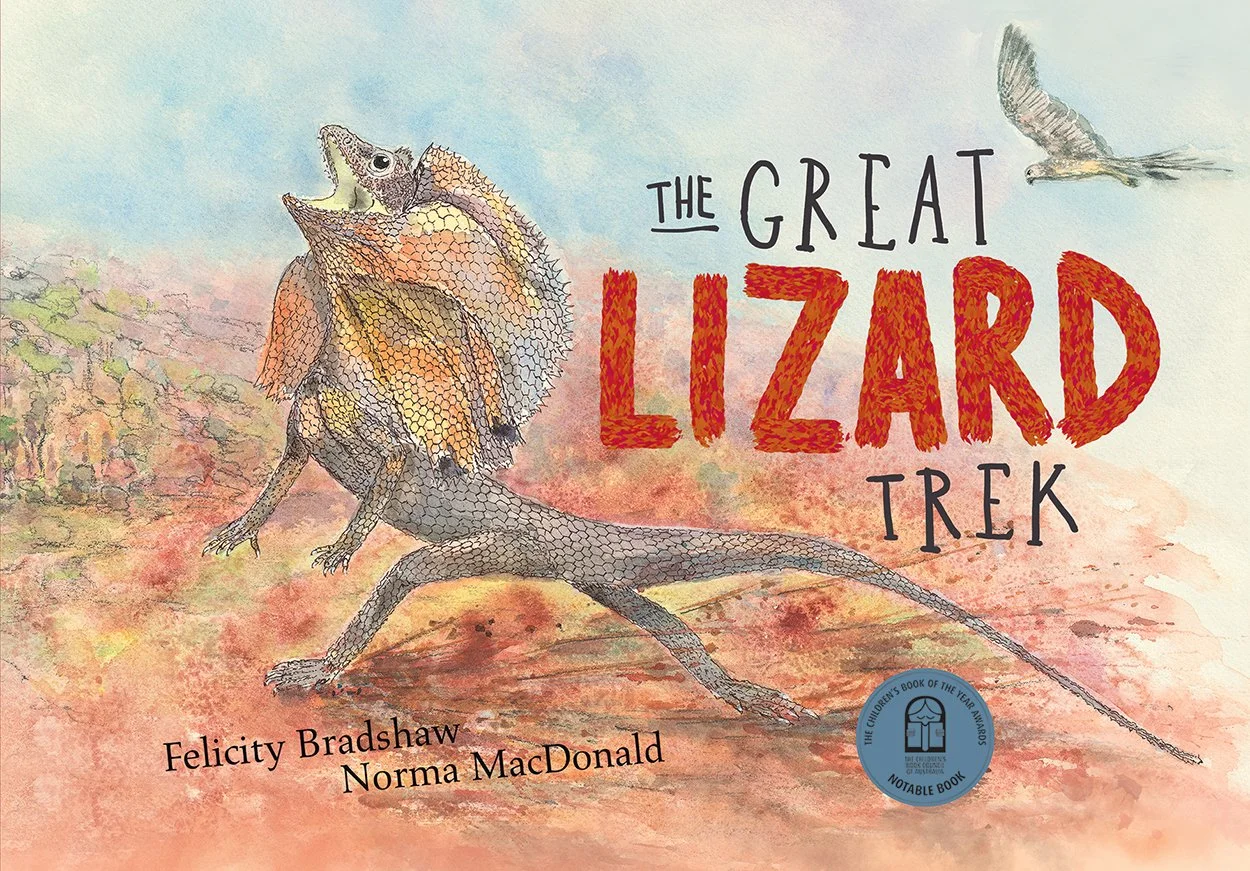
The Great Lizard Trek (2018) by Felicity Bradshaw, illustrated by Norma MacDonald. CSIRO Publishing.
Before Reading
• Explain that this book will provide a template for students to create a digital story about some of the animal adaptations they’ve been learning about in science.
During Reading
• Read the book through once for students to listen to the story.
• Ask the class if they can recall any of the adaptations detailed in the story. Have students create a list on the whiteboard (e.g. Moloch uses capillary action to absorb water). You may like to flip through the book again to find them all (14 total).
After Reading
• Introduce the project to the class: We will be creating digital texts to present the information we’ve been learning in science in an interesting way.
• Reflect on the book together: What did you like about the way the scientific information was presented? What ideas can we use in our own projects?
• Revise animals and adaptations from Science learning and have students select an animal they’re interested in.
• Plot out the various stages of the animal’s adaptations in response to environmental changes on the Adaptation Story Planner (TOOLBOX).. The series of adaptations should track quite naturally to a story plot, with the ‘character’ or animal responding to a series of challenges and changing to survive.
• Discuss options for narrating the story and reflect on the choice of Rocky as the narrator of The Great Lizard Trek. The students may choose to:
• Narrate the story in first person from the point of view of an animal, like Rocky. Or,
• Narrate the story in third person and observe the animal throughout time.
• Have students write the first draft of the story. Support them with editing and improving their work.
• If you are willing and a range of resources are available, brainstorm various ways the stories could be presented digitally. If limited devices are available, you may like to have the students work in pairs or small groups to produce the best stories. Utilise student skills and know-how where possible: have them be the tech experts and support each other.
For EAL/D Students
Before Reading
Students plot picture of each lizard on the Map of Western Australia (copy and place a big one from the book on the wall). Cross reference this with a map of wider WA to give students an idea of where this is in relation to their school/home.
During Reading
Hard copy lists that students can complete as they are plotted on the Class screen.
Digital projects can present challenges; however, they are great opportunities for students to show initiative, demonstrate problem solving, make mistakes, learn about time management, and navigate new technologies.
A good rule or premise is: I can help you with [any platforms you’re familiar with], but if you are choosing to use any other platform or device, you are in charge of figuring out how it works, and problem solving if something goes wrong. You must also have a back-up option.
Options may include:
• Using hand-drawn or digital images and text to create a story in PowerPoint.
• Using iMovie or similar to create short films, perhaps using some footage or images from your local area. They may like to create a documentary in the style of David Attenborough.
• Making a diorama and using plasticine sculptures or other objects to create a stop motion animation (there are lots of websites with tutorials and editing platforms to support this)
• Using digital illustrators and/or animation software to create their own animated films.
• Creating their own costumes, acting out, recording, and editing short films.
• Using Minecraft to create scenes and editing these into a film (this can be done with screen recording or screenshots)
• Use the storyboard template (TOOLBOX) to plan how the written text will work with video and images. Students may choose to have the written text on screen, or to have a voiceover narration.
• Produce and edit the stories.
• Discuss options for showcasing the work. Depending on the quality of the finished products, you may like to:
• Have a class screening party with popcorn.
• Invite another class or school leaders to watch.
• Showcase some of the best work at an Assembly or parent event.